Select Page

How to Reset forgotten Root Password in Suse Enterprise Linux
How to Reset forgotten Root Password in Suse Enterprise Linux

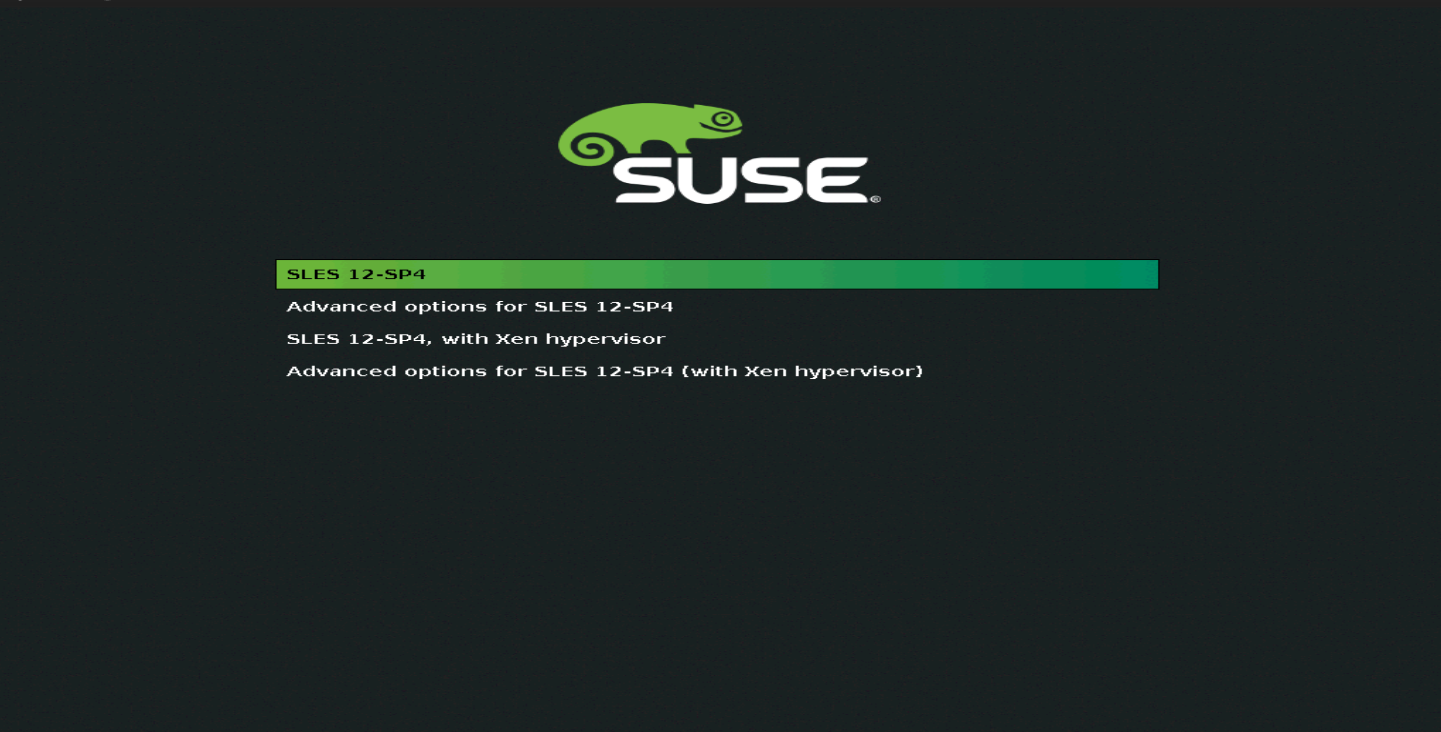
To reset forgotten password hard reboot your affected VM or bare metal server, press arrow key to skip boot timeout from grub, then press “e”
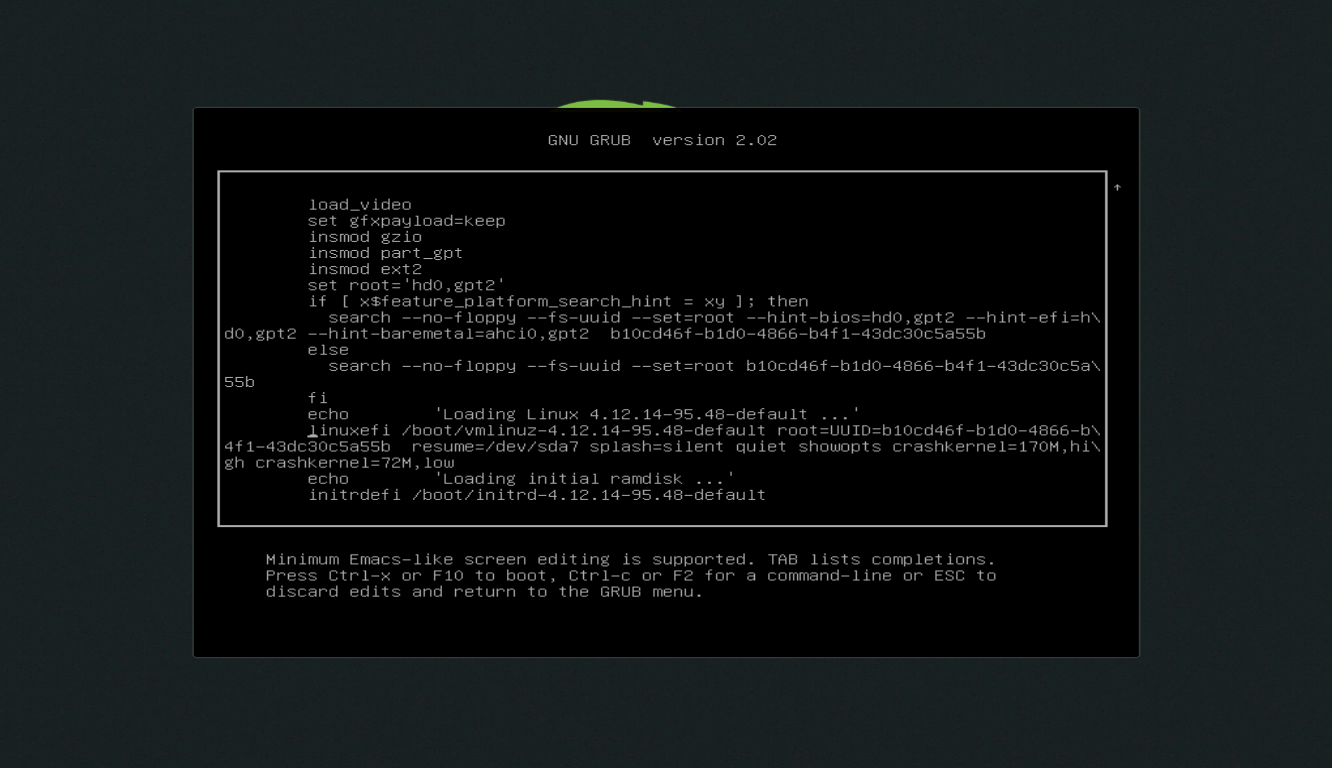
edit suse grub

search for line start with “linuxefi” (some time instead of “linuxefi” you can find “linux” or “linux16”) and press “end” button
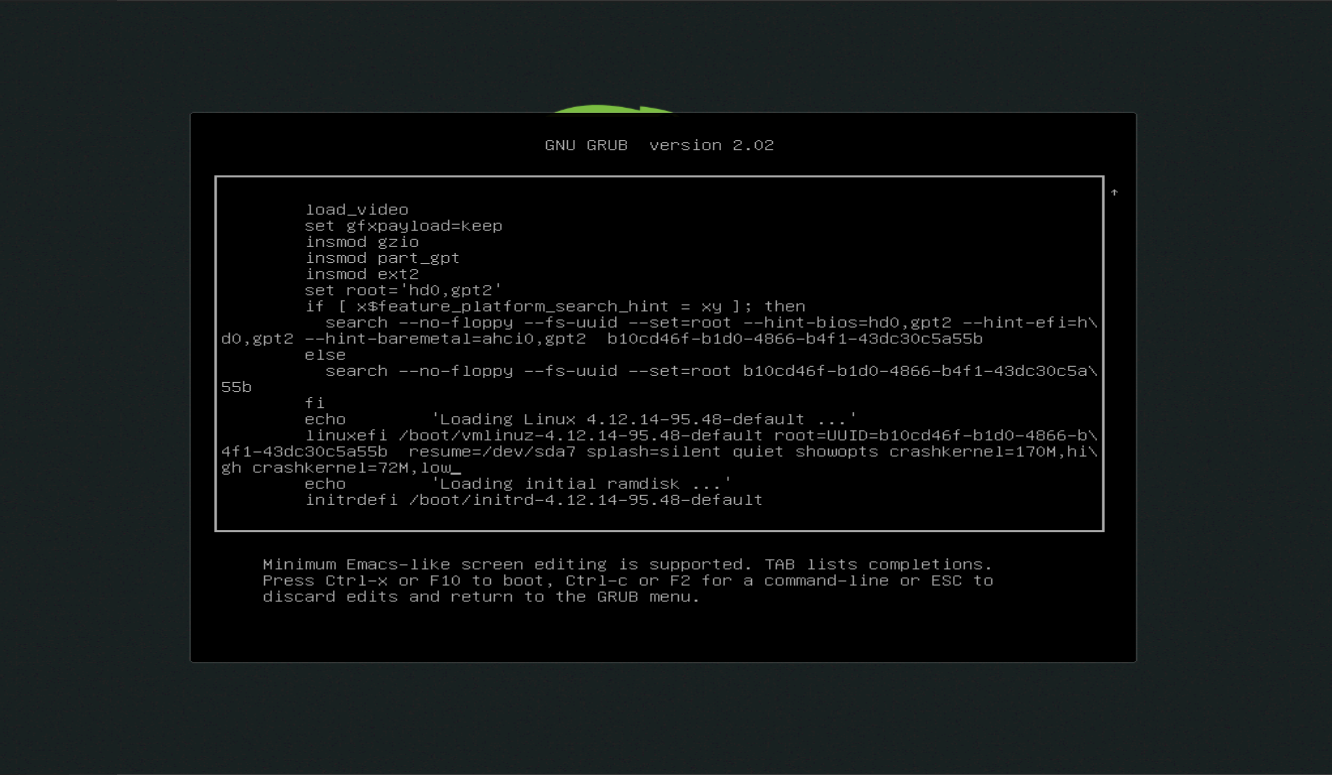
edit suse grub

at the end of the line type init=/bin/bash then press F10 or ctrl+x to boot
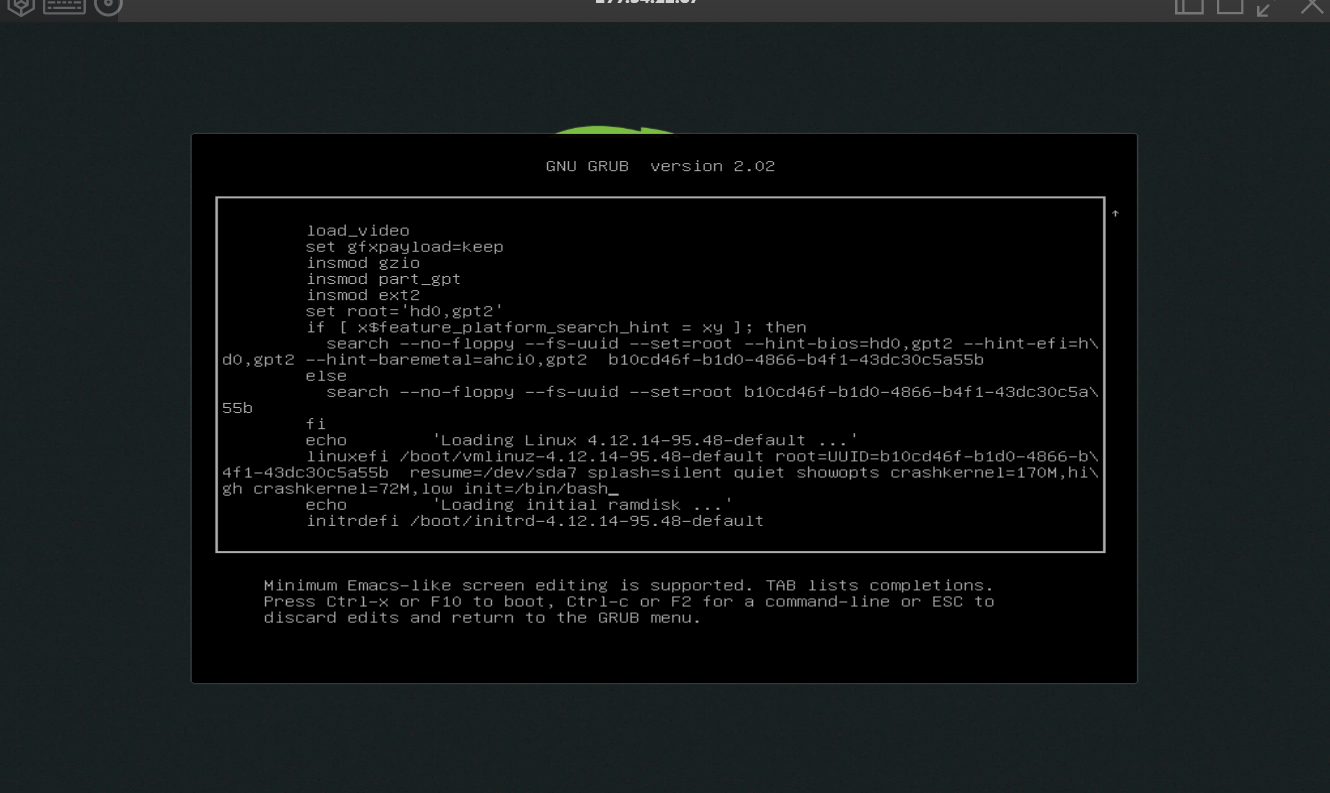
edit suse grub

now you can will be booted into shell, but it will in readonly mode, to change to read, write mode type following commands

mount -o rw, remount /

after that type

chroot /

reset suse linux password

to reset password type following command followed by user name.

passwd root

then type exit and
type reboot

Enjoy
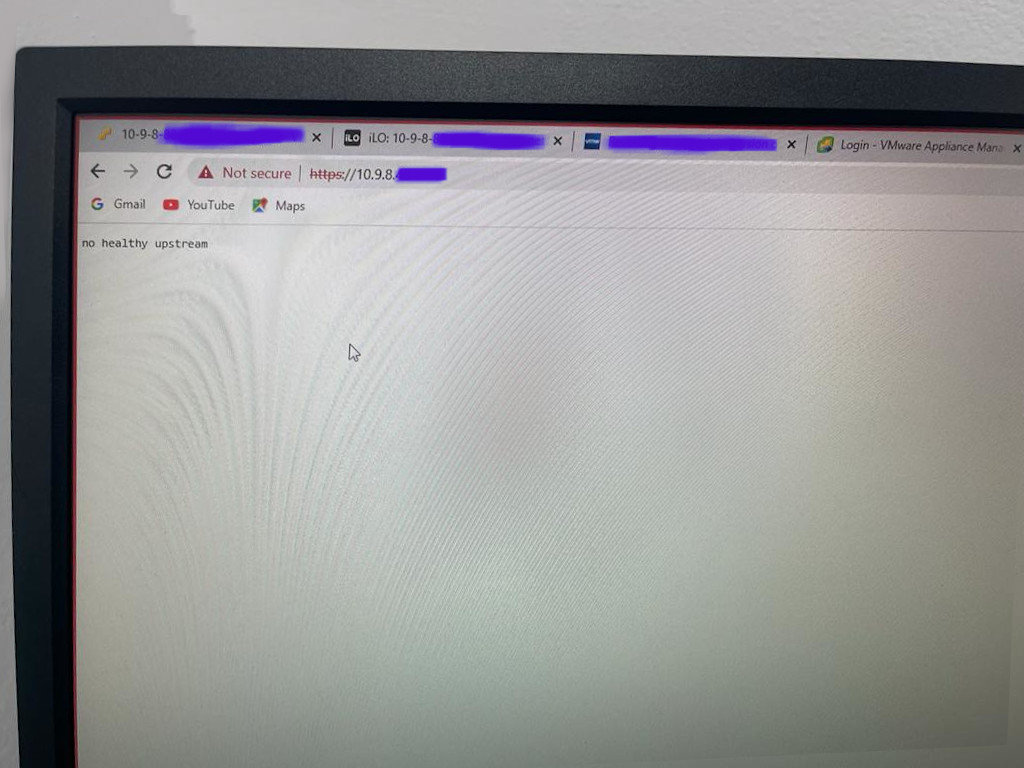
How to fix vCenter – no healthy upstream error.

I recently faced this issue when downgrading HPE Simplivity Node, we were using Center v7 U2, and we have to shut down everything for this host downgrade.

after the downgrade and adding additional SimpliVity node deployment was done, we tried to turn on vCenter but we cannot see GUI it says "no healthy upstream" and it looks like vpxd service not starting.

we tried to ssh to vCenter and try to restart "vmware-vpxd" several times, later we logged a case with VMware, immediately they called us and taken server remotely. and add esxi server IP to hosfile, I dont know why he did that. may be he wants vCenter to communicate with Esxi host properly kindly check this link for reference

later he relogged in to vCenter through ssh and tried to stop and restart all service and on another ssh he watch which service is up and running with in minutes issue got fixed. i will be pasting logs below for your reference.

SSH Connection 1

root@localhost [ /etc ]# vi hosts
root@localhost [ /etc ]# cat hosts
# Begin /etc/hosts (network card version)
10.9.8.120
127.0.0.1 localhost.localdomain
127.0.0.1 localhost
# End /etc/hosts (network card version)
root@localhost [ /etc ]# service-control --stop --all && service-control --start --all
Operation not cancellable. Please wait for it to finish...
Performing stop operation on service observability...
Successfully stopped service observability
Performing stop operation on service vmware-pod...
Successfully stopped service vmware-pod
Performing stop operation on service vmware-vdtc...
Successfully stopped service vmware-vdtc
Performing stop operation on profile: ALL...
Successfully stopped service vmware-vmon
Successfully stopped profile: ALL.
Performing stop operation on service vmcad...
Successfully stopped service vmcad
Performing stop operation on service vmdird...
Successfully stopped service vmdird
Performing stop operation on service vmafdd...
Successfully stopped service vmafdd
Performing stop operation on service lwsmd...
Successfully stopped service lwsmd
Operation not cancellable. Please wait for it to finish...
Performing start operation on service lwsmd...
Successfully started service lwsmd
Performing start operation on service vmafdd...
Successfully started service vmafdd
Performing start operation on service vmdird...
Successfully started service vmdird
Performing start operation on service vmcad...
Successfully started service vmcad
Performing start operation on profile: ALL...
Successfully started service vmware-vmon
Successfully started profile: ALL.
Performing start operation on service observability...
Successfully started service observability
Performing start operation on service vmware-vdtc...
Successfully started service vmware-vdtc
Performing start operation on service vmware-pod...
Successfully started service vmware-pod
root@localhost [ /etc ]#

SSH Connection 2

root@localhost [ ~ ]# watch service-control --status
Every 2.0s: service-control --status localhost: Thu Mar 31 16:17:48 2022

Running:
applmgmt lookupsvc lwsmd observability observability-vapi pschealth vlcm vmafdd vmcad vmdird vmonapi vmware-analytics vmware-certificateauthority vmware-certificatemanagement vmware-cis-license vm
ware-content-library vmware-eam vmware-envoy vmware-hvc vmware-infraprofile vmware-perfcharts vmware-pod vmware-postgres-archiver vmware-rhttpproxy vmware-sca vmware-sps vmware-statsmonitor vmware-
stsd vmware-topologysvc vmware-trustmanagement vmware-updatemgr vmware-vapi-endpoint vmware-vdtc vmware-vmon vmware-vpostgres vmware-vpxd vmware-vpxd-svcs vmware-vsan-health vmware-vsm vsphere-ui v
stats vtsdb wcp
Stopped:
vmcam vmware-imagebuilder vmware-netdumper vmware-rbd-watchdog vmware-vcha

Kudos to VMware team who fixed this issue, this way all of the services required for vCenter to start is up and running,

it is weird that some of the community members and blog post recommended to reset Bios time of Esxi node is correct and synchronized with vCenter, for us we already corrected Bios and (HPE) Intelligent provisioning time to same one because in future we may face issue with logs time stamp.

I Hope using above method might have fix your issue, or if you have any opinion about any good method let me know.

Installing Kali-Linux 64-Bit on Raspberry Pi-4

Installing Kali-Linux (64-bit) in Raspberry Pi-4

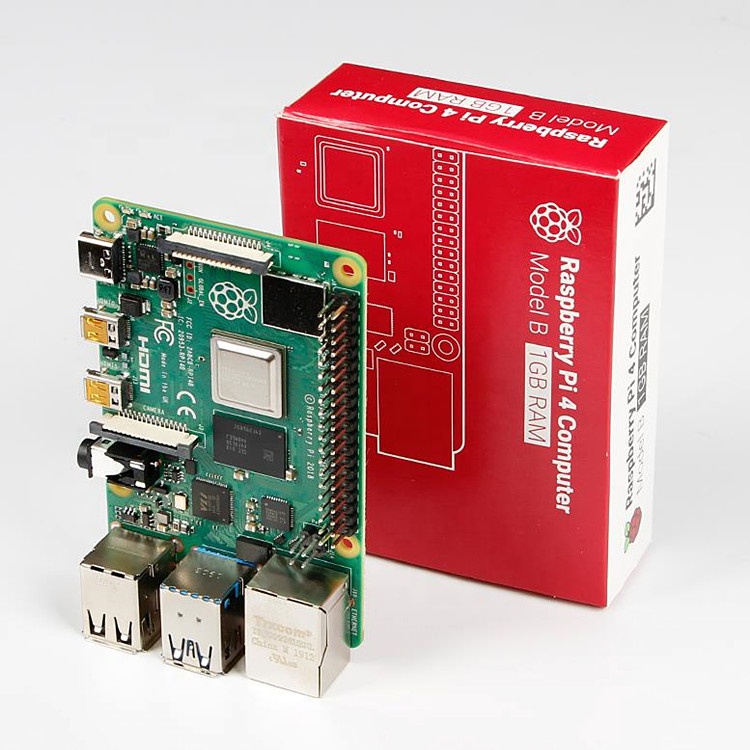
For the 64-Bit OS support we need to use Raspberry Pi 4
I’m using Raspberry Pi 4 Model-B With * Gigs of RAM, A 4GB RAM model would work just fine.

But First what is Raspberry Pi and what is it used for ?

he Raspberry Pi is a low cost, credit-card sized computer that plugs into a computer monitor or TV, and uses a standard keyboard and mouse.
It is a capable little device that enables people of all ages to explore computing, and to learn how to program in languages like Scratch and Python.
It’s capable of doing everything you’d expect a desktop computer to do, from browsing the internet and playing high-definition video, to making spreadsheets, word-processing, and playing games.

What’s more, the Raspberry Pi has the ability to interact with the outside world, and has been used in a wide array of digital maker projects, from music machines and parent detectors to weather stations and tweeting birdhouses with infra-red cameras.
We want to see the Raspberry Pi being used by kids all over the world to learn to program and understand how computers work.

Now please follow the following steps to install Kali-Linux on a Raspberry Pi 4

  • Step 1

Assemble and enclose the Raspberry Pi, We recommend a case with passive cooling or with a small fan and heat-sinks.
Yes of course you can the Pi without any case or cooling setup, But we recommend to use a cooling case for protection and better performance.

  • Step 2

Download Kali-Linux Image from the official website.
You can get the download link from the below URL.
You need to select ARM image category, then choose the Raspberry Pi 64-bit Image.

  • Step 3

Now you need to write this image to a Micro SD card, Which you are going to use it on your Raspberry Pi.
You can use either Balena Etcher or the official Raspberry Pi imager for this task.

Here we are using the official Raspberry Pi imager. You can download the imager from the following URL.
https://www.raspberrypi.com/software/
Here is the download link for Windows machines
https://downloads.raspberrypi.org/imager/imager_1.6.2.exe

  • Step 4

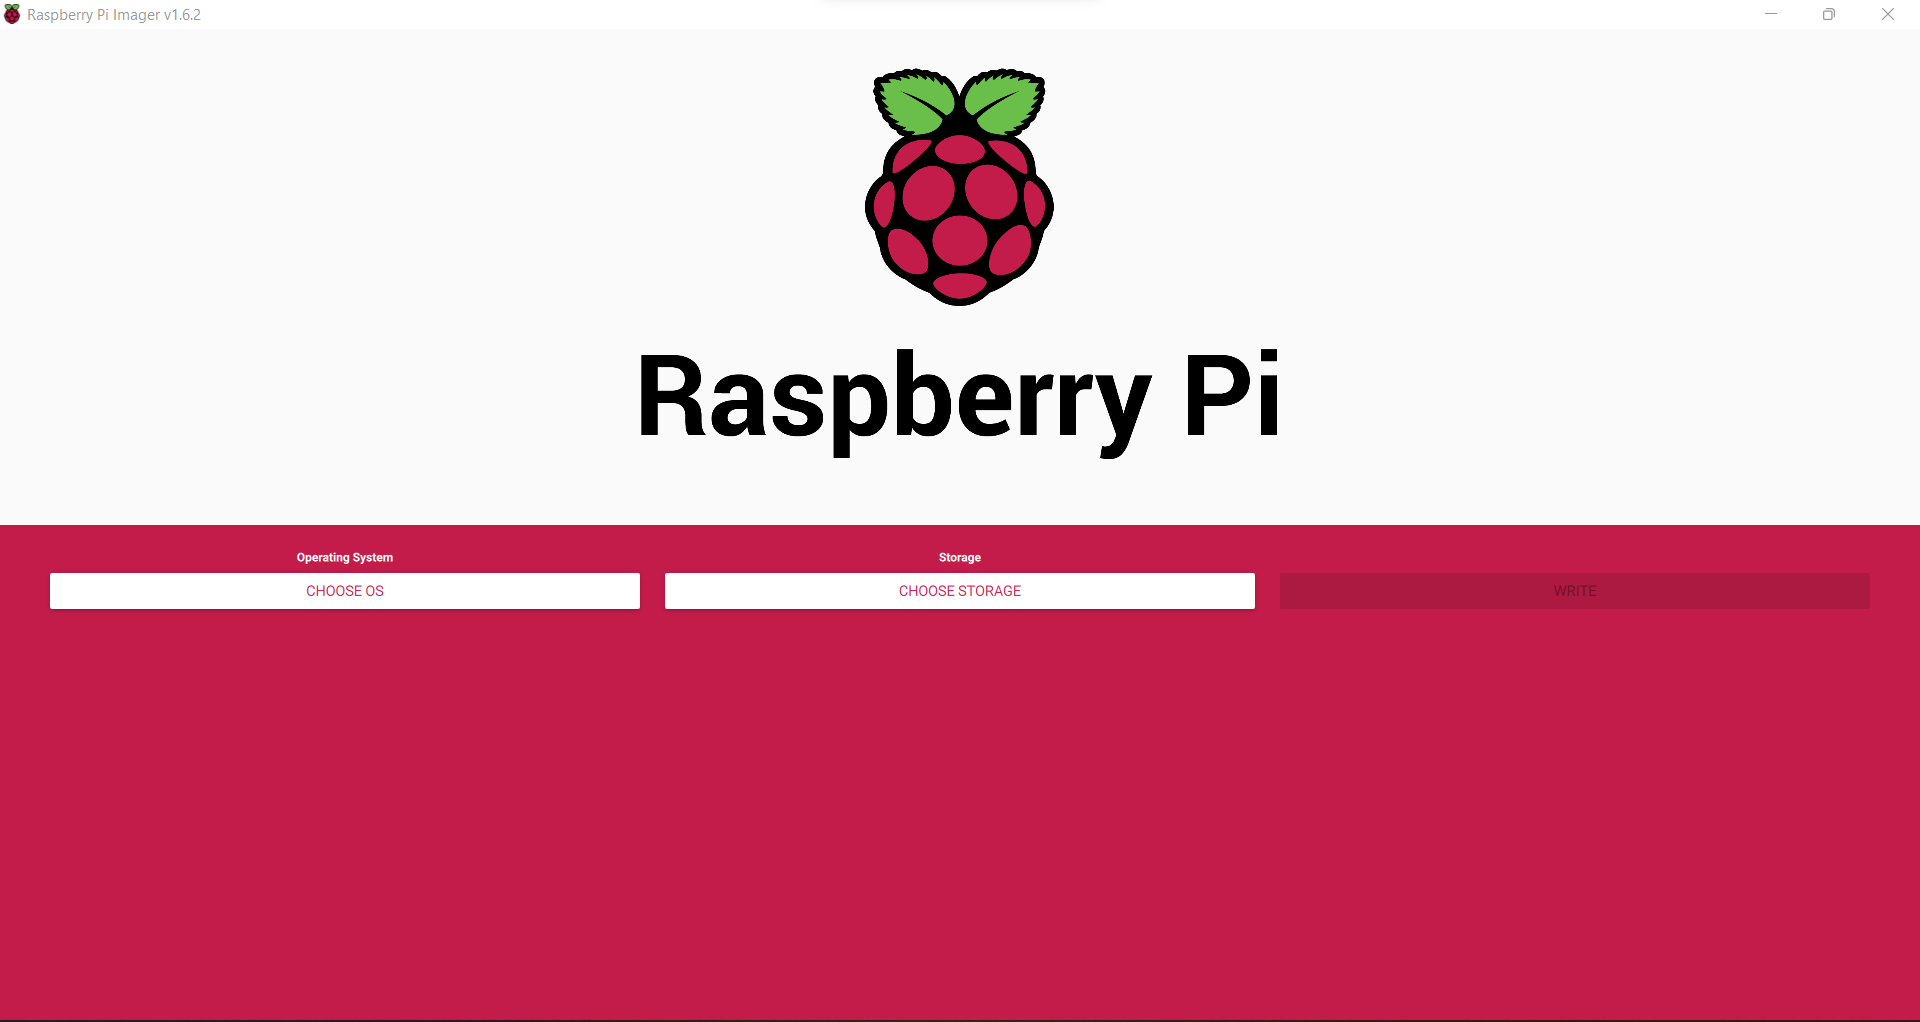
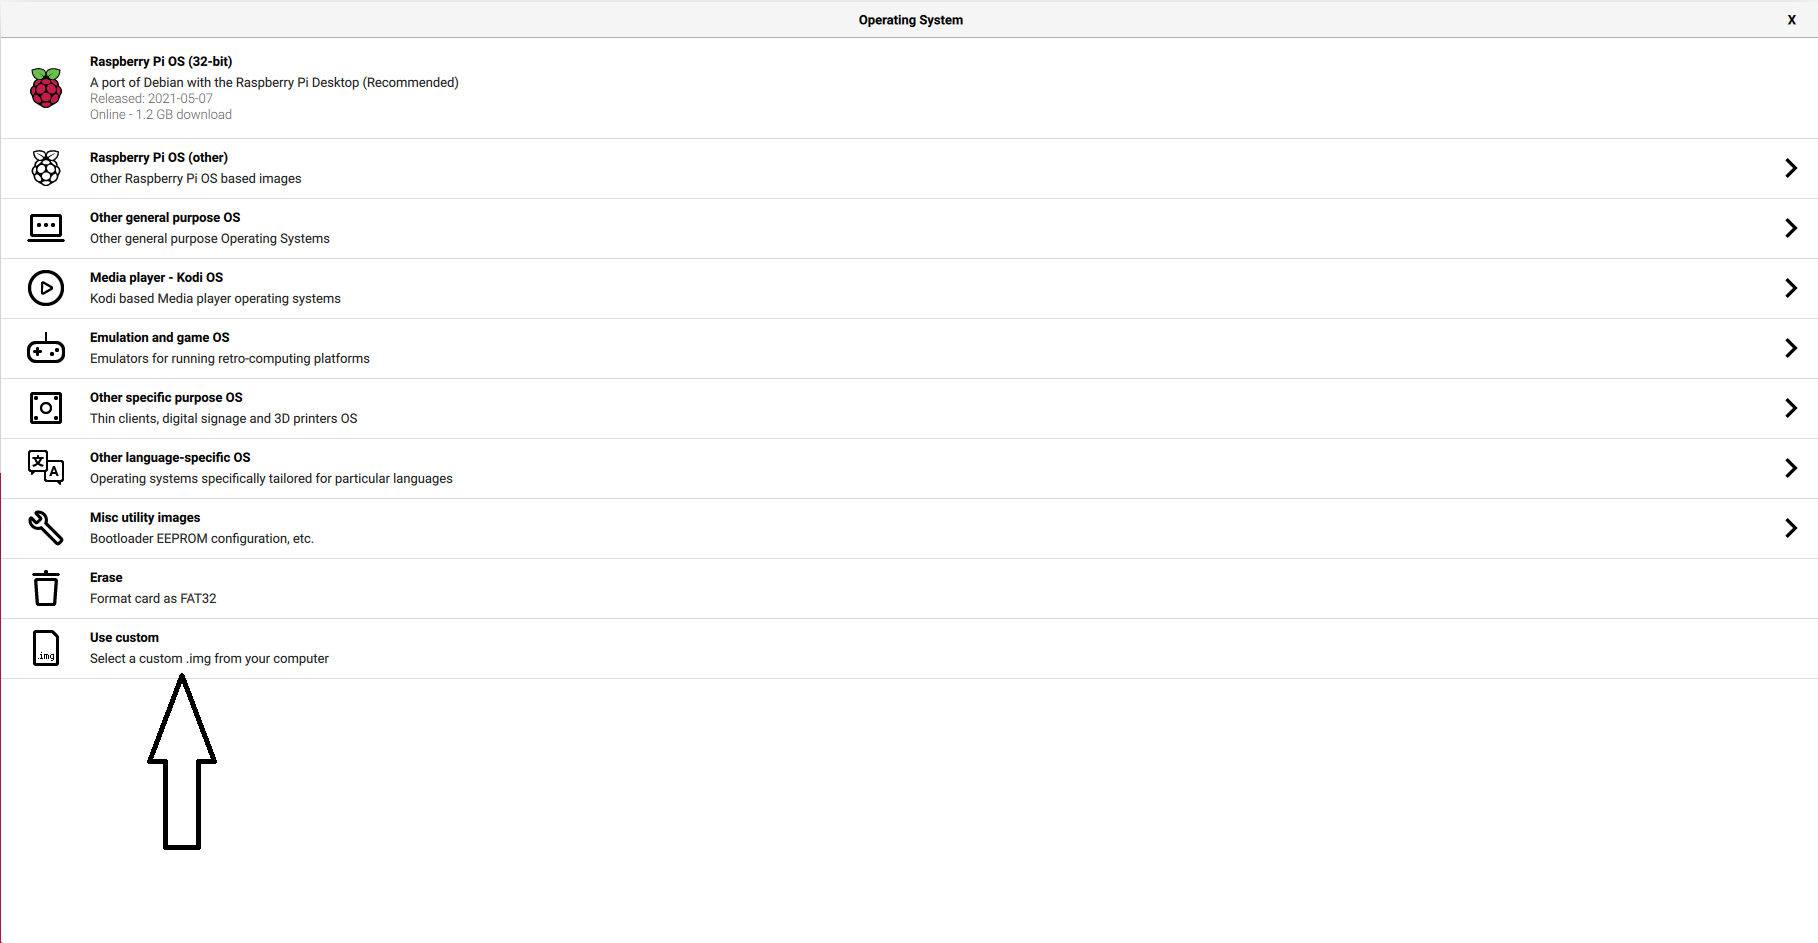
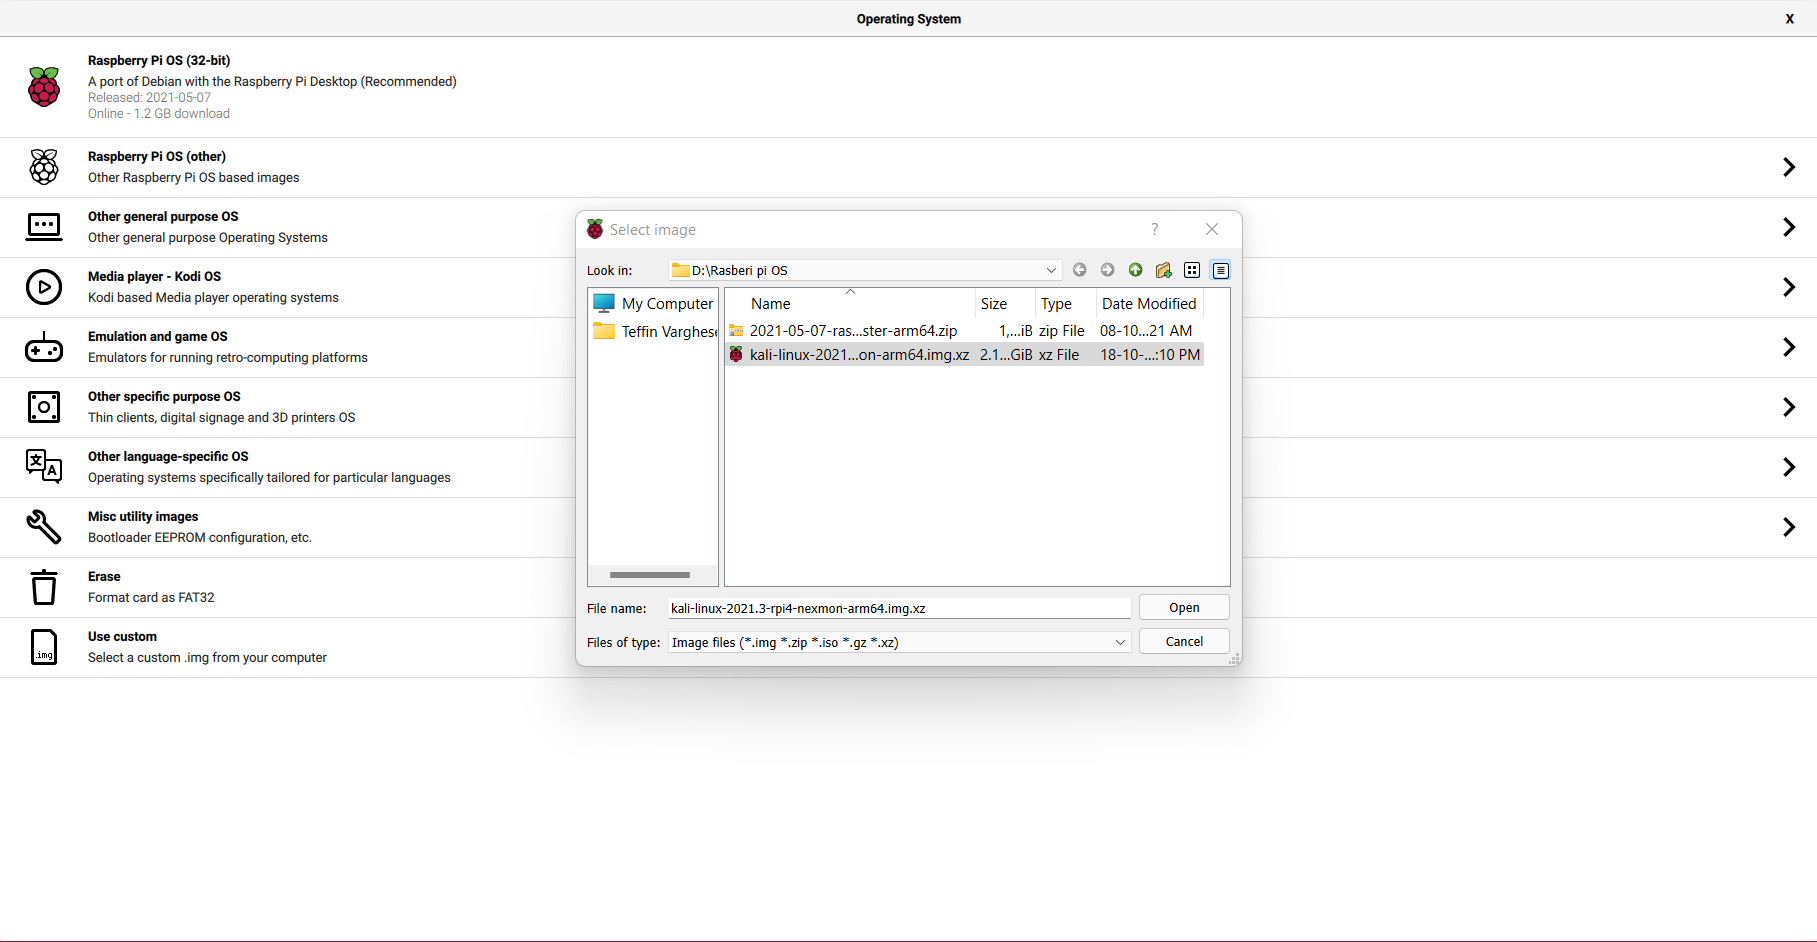
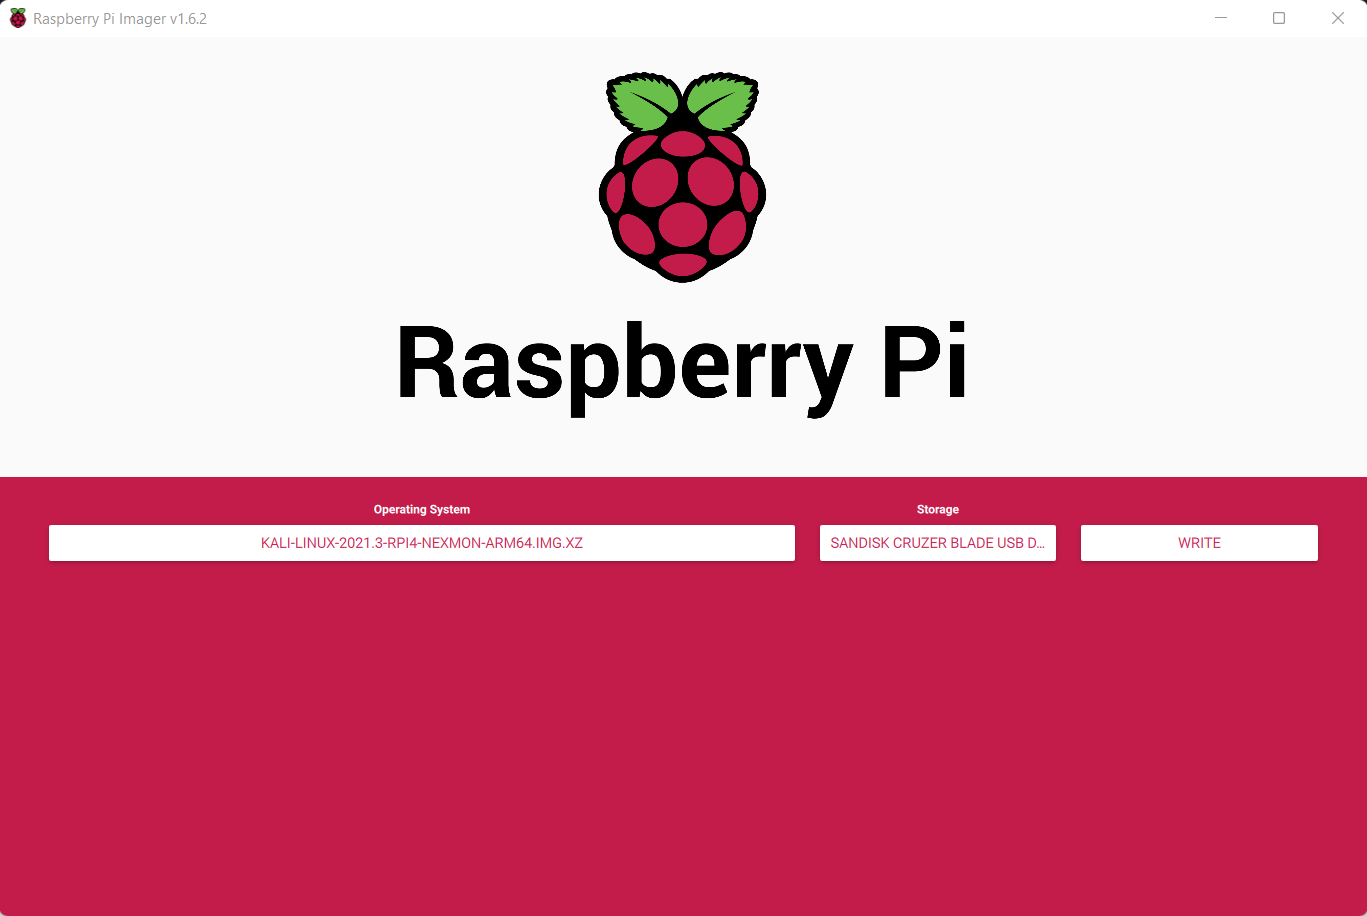
Write Kali-Linux image to the Micro SD-Card. Please follow the following images.

1, Launch the Pi Imager and select Choose OS.

2, Select the option “Use Custome” for our Kali-Linux Image

3, Browse and choose the Kali-Linux Image we have downloaded from our PC.

4, Now select storage and choose our micro SD-Card and click write to write the Image.

Note: Please make sure you have selected the correct storage, In our case the SD-Card. If you choose the wrong location the imager will wipe the selected storage location.

  • step 5
    Insert the Micro SD-card to your Raspberry Pi. Plug in your Raspberry Pi Power-Brick to the device and
    connect your Pi to a monitor, also plugin your Mouse and Keyboard as well, Then power-on the power brick.

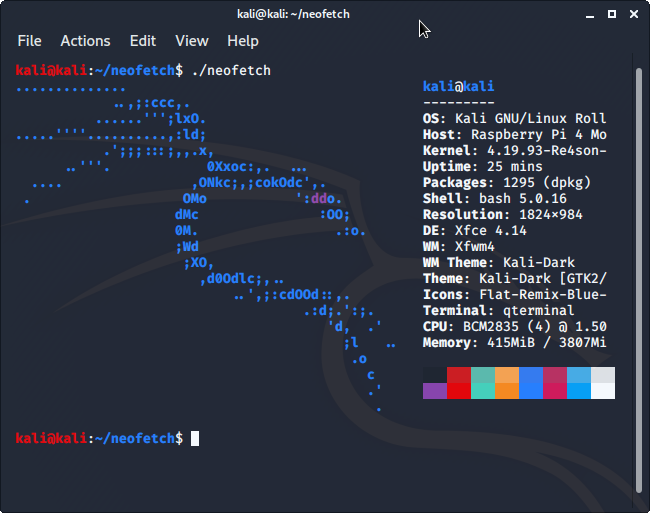
It will take some time for the initial bootup, Wait for it. If everything is perfect your Raspberry Pi will boot into Kali-Linux.

That’s it, Have fun.

How to remove Windows Watermark

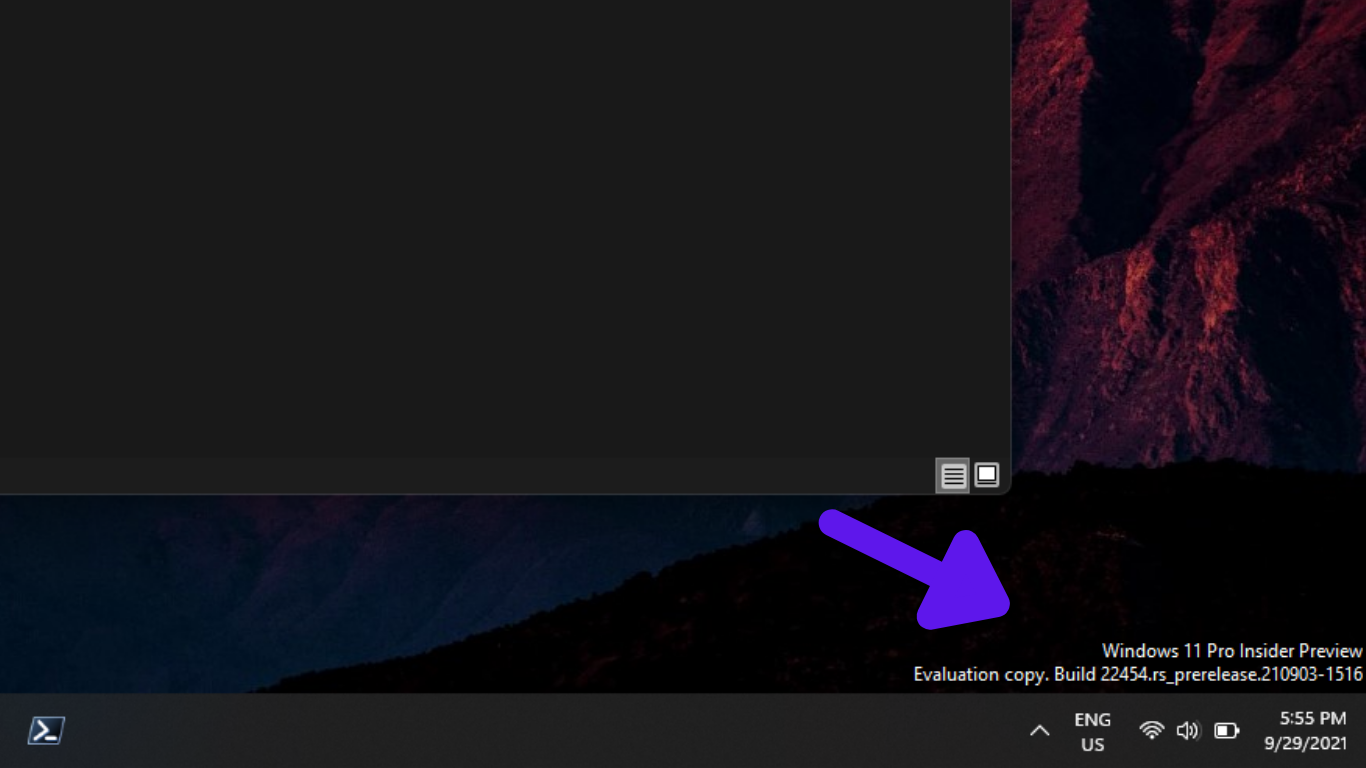
You may have faced this issue in Evaluation versions or Preview releases or OS you are not activated, it's very easy to remove this.

How to remove Windows Watermark pics 1

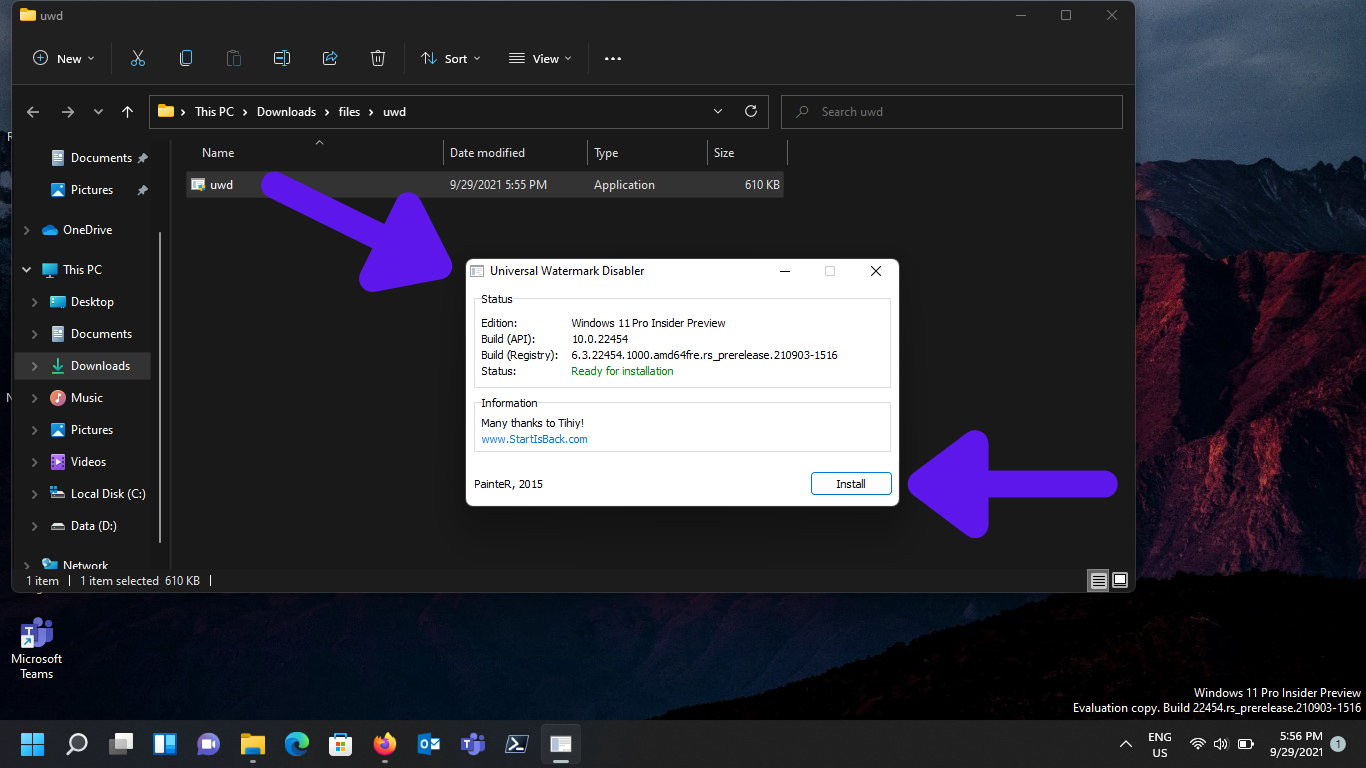
using a free tool you can remove this watermark.  It's called Universal Watermark Disabler.

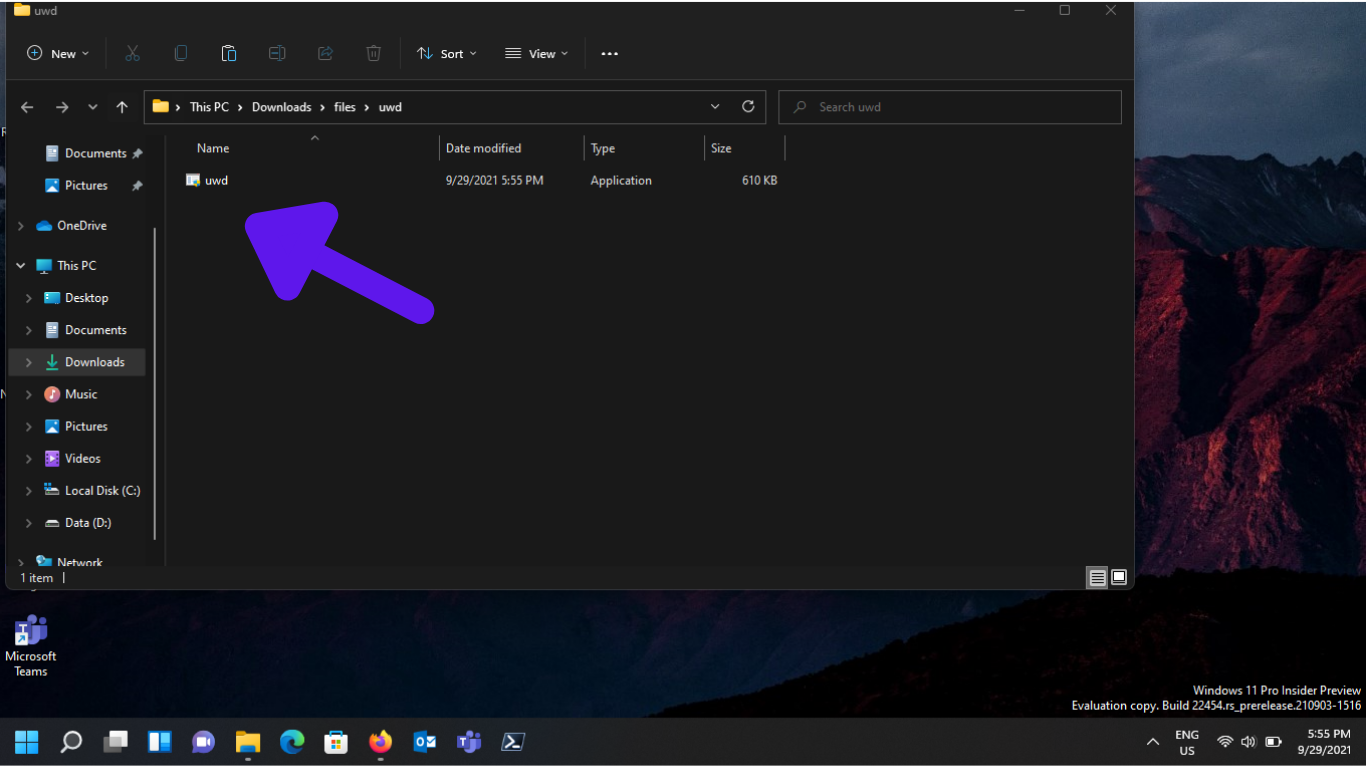
How to remove Windows Watermark pics (2)

download from above link and extract to a folder

Note:

Please uninstall Universal Watermark Disabler before installing the next Windows 11 Insider Build. Else, you might face some crashes or errors. If you update Windows Insider Builds frequently. Or, auto-updates are enabled, then I suggest you not install UWD.

How to remove Windows Watermark pics (3)

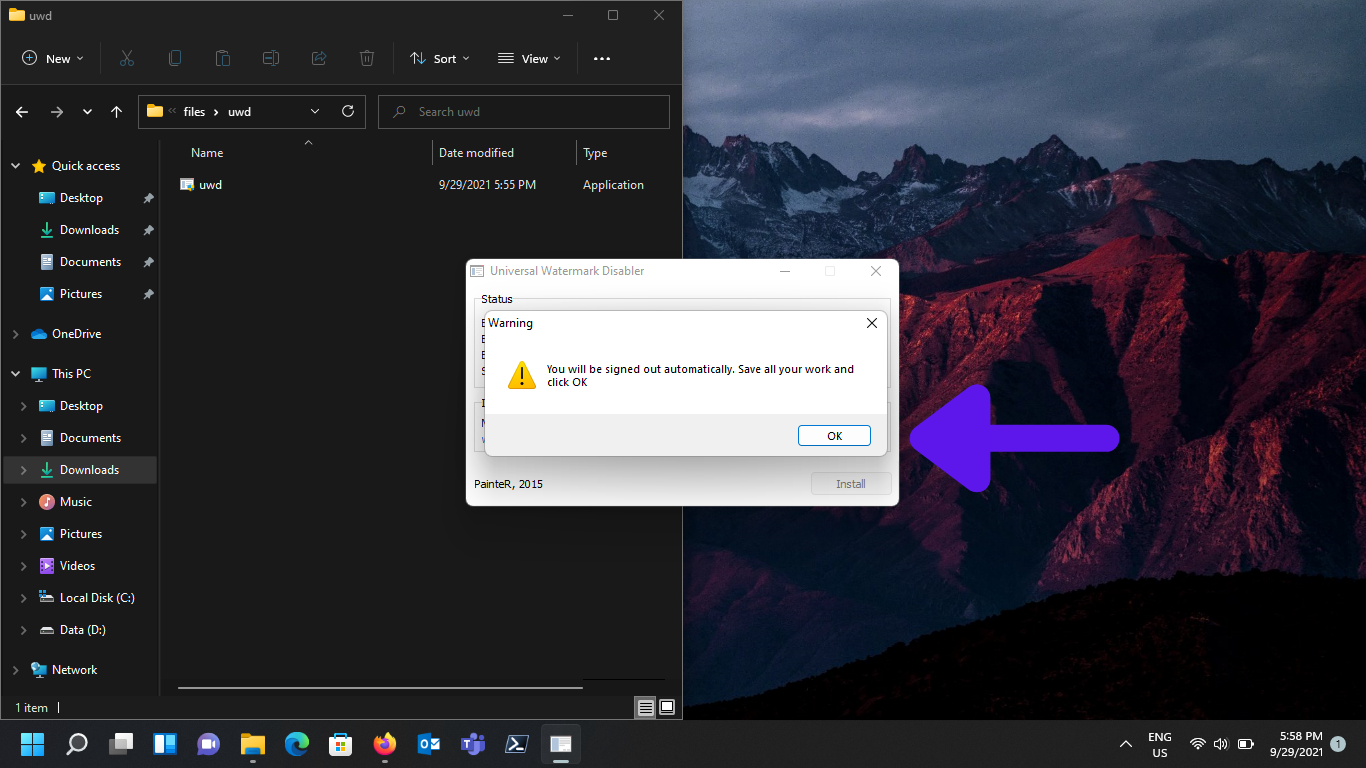
Install application then it will ask you to logout, once you login again you can see water mark disappered.

How to remove Windows Watermark pics (4)

to uninstall UWD you just need to double click the setup file and click uninstall after logout and login watermark will appear again.

Disabling weak CBC ciphers in ssh Redhat

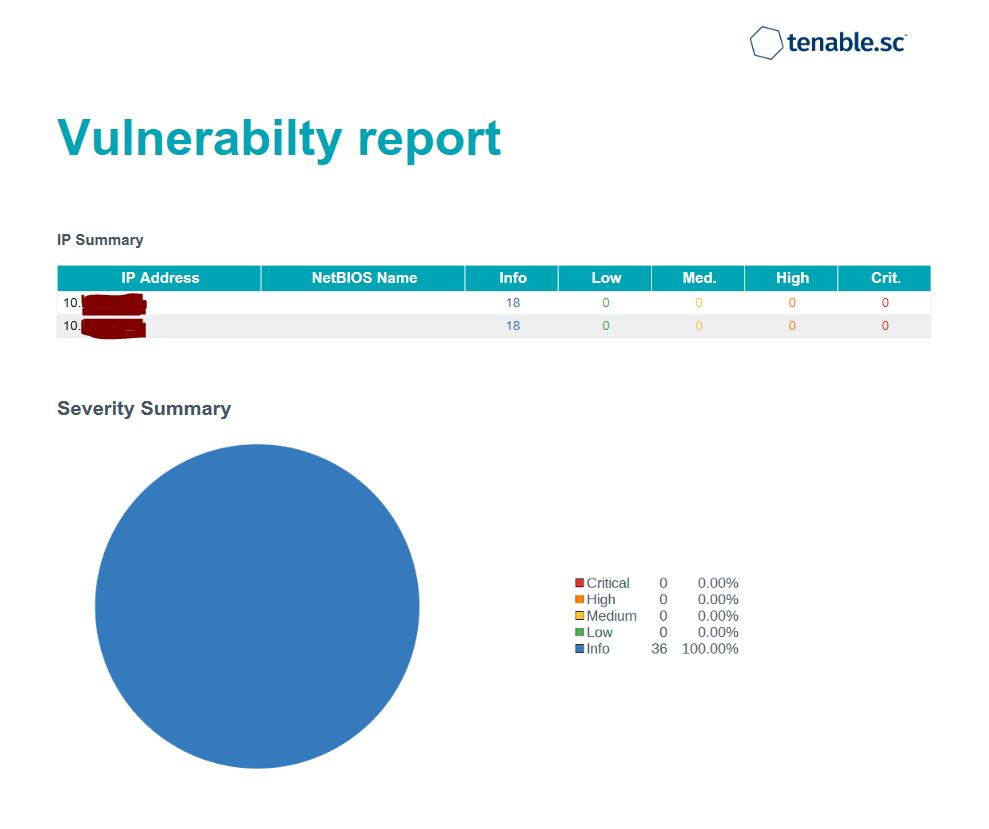
Today we will cover how to disable weak cbc ciphers in ssh server, after this you will pass cbc ciphers vulnerability.

Environment

Red Hat Enterprise Linux 8.x
OpenSSH


Tool used for vulnerability checking

Resolution

There were 2 server affected in total so i will try to do explain in three parts, First part consist adding policy (optional), Second is enabling specific policy instead of default site-wide policy, Third part has 2 methods for me both has worked, you can choose one of them.

Step 1

First open terminal and type

  update-crypto-policies --show

by default you will get reply as

DEFAULT

then please change it to FUTURE, for that type

  update-crypto-policies --set FUTURE

reboot server, most probably this wont work, for me also it didn't work, i included this because in every tutorial it is mentioned. now go to step 2.

Step 2

to enable specific CRYPTO_POLICY instead of using system-wide policy, you need to uncomment the line " CRYPTO_POLICY" from /etc/sysconfig/sshd

Open /etc/sysconfig/sshd and uncomment from  .

   #CRYPTO_POLICY=

to:

   CRYPTO_POLICY=

Step 3

Disable CBC Ciphers

Now we need to set SSHD specific policy for CBC ciphers, you can do this by modifying line found in /etc/ssh/sshd_config.

after adding method 1 to  /etc/ssh/sshd_config , during restarting ssh server you may face issue, just commend before public key, and it worked for me, to find why ssh server failed to start you can use following command.

  sshd -t

edit /etc/ssh/sshd_config and add following lines, in Method 1 you may face issue when trying to restart ssh server, type

Oh i forgot to mention that its always good to take back of config files before make any changes.

CBC Ciphers Method 1

[email protected],[email protected],aes256-ctr,[email protected],aes128-ctr GSSAPIKexAlgorithms=gss-gex-sha1-,gss-group14-sha1- [email protected],ecdh-sha2-nistp256,ecdh-sha2-nistp384,ecdh-sha2-nistp521,diffie-hellman-group-exchange-sha256,diffie-hellman-group14-sha256,diffie-hellman-group16-sha512,diffie-hellman-group18-sha512,diffie-hellman-group-exchange-sha1,diffie-hellman-group14-sha1 HostKeyAlgorithms=rsa-sha2-256,[email protected],ecdsa-sha2-nistp384,[email protected],rsa-sha2-512,ecdsa-sha2-nistp521,[email protected],ssh-ed25519,[email protected],ssh-rsa,[email protected] PubkeyAcceptedKeyTypes=rsa-sha2-256,ecdsa-sha2-nistp256,[email protected],ecdsa-sha2-nistp384,[email protected],rsa-sha2-512,ecdsa-sha2-nistp521,[email protected],ssh-ed25519,[email protected],ssh-rsa,[email protected]

restart sshd to apply changes, for that type


  systemctl restart sshd

CBC Ciphers Method 2

Protocol 2 HostKey /etc/ssh/ssh_host_ed25519_key HostKey /etc/ssh/ssh_host_rsa_key KexAlgorithms [email protected],diffie-hellman-group-exchange-sha256 Ciphers [email protected],[email protected],[email protected],aes256-ctr,aes192-ctr,aes128-ctr MACs [email protected],[email protected],[email protected],hmac-sha2-512,hmac-sha2-256,[email protected]

restart sshd to apply changes, for that type


  systemctl restart sshd
disabling weak cbc ciphers in ssh redhat

Now you can do vulnerability test again, it must be fix by now, Enjoy

How to reset forgotten root password in FreeBSD.

Introduction.

FreeBSD is an operating system used to power modern servers, desktops, and embedded platforms. A large community has continually developed it for more than thirty years. Its advanced networking, security, and storage features have made FreeBSD the platform of choice for many of the busiest web sites and most pervasive embedded networking and storage devices.

FreeBSD is a free and open-source Unix-like operating system descended from the Berkeley Software Distribution, which was based on Research Unix. The first version of FreeBSD was released in 1993.

Now lets check how can we reset forgotten root password in FreeBSD.

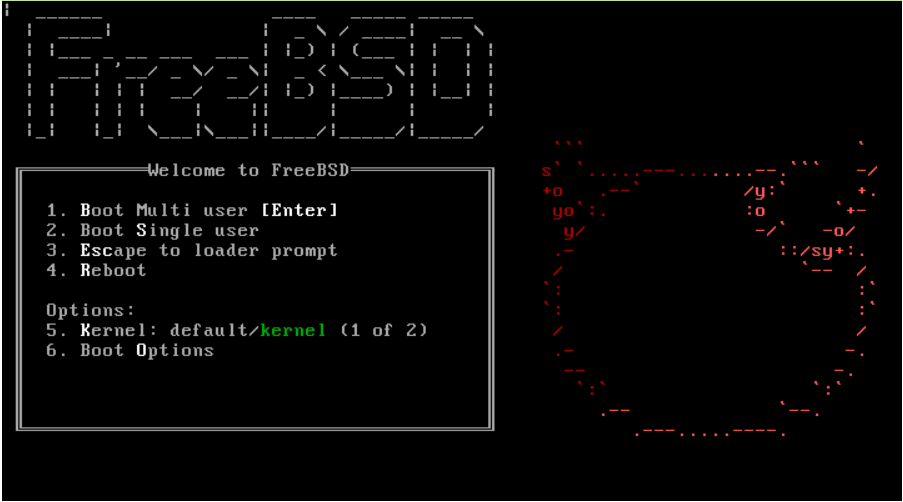
Step #1 : Reboot / Restart the server and boot into Single user mode.

You can press "S" at the boot prompt for entering the Single user mode.

Step #2: Mount the filesystem on the server.

root filesystem will be mounted read-only by default, you will need to remount it using the mount -ruw / command to give yourself read/write access. Run mount -a to remount all filesystems specified in the /etc/fstab file.

Step #3: Reset the root password.

You can reset the root password using the command passwd and set a new password on the server.

Step #4: Reboot the server.

That's it, when the server boots back to the OS you can login with the new password.

Cheers!!!

Please check our recent post about how to reset ubuntu server forgotten password.

Pin It on Pinterest