by Teffin Varghese | Oct 31, 2021 | Hosting, Howtos, Linux, Networking, OS, Review, Security, Servers, Troubleshooting, Unix, VPN, VPS, Vulnerability, Workstation
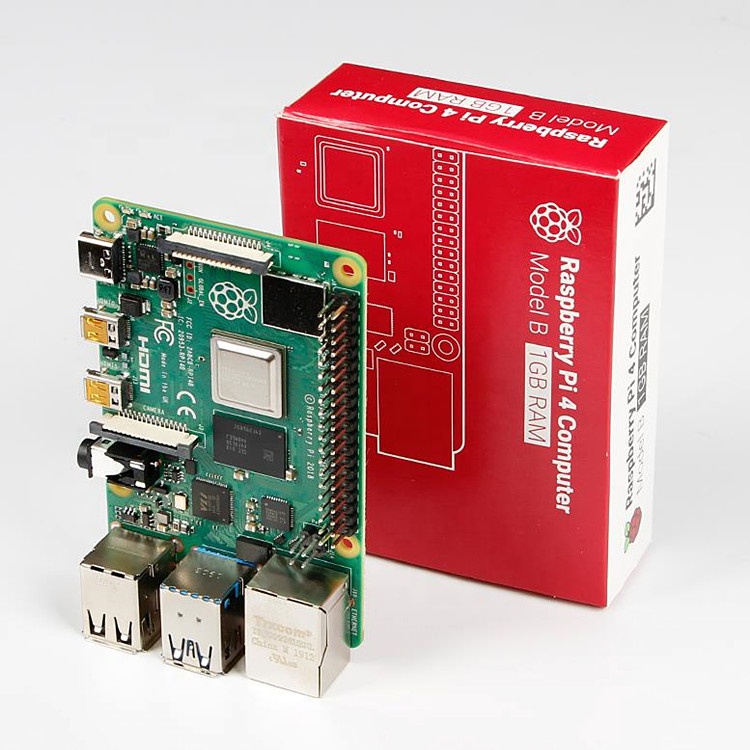
For the 64-Bit OS support we need to use Raspberry Pi 4
I’m using Raspberry Pi 4 Model-B With * Gigs of RAM, A 4GB RAM model would work just fine.
But First what is Raspberry Pi and what is it used for ?
he Raspberry Pi is a low cost, credit-card sized computer that plugs into a computer monitor or TV, and uses a standard keyboard and mouse.
It is a capable little device that enables people of all ages to explore computing, and to learn how to program in languages like Scratch and Python.
It’s capable of doing everything you’d expect a desktop computer to do, from browsing the internet and playing high-definition video, to making spreadsheets, word-processing, and playing games.
What’s more, the Raspberry Pi has the ability to interact with the outside world, and has been used in a wide array of digital maker projects, from music machines and parent detectors to weather stations and tweeting birdhouses with infra-red cameras.
We want to see the Raspberry Pi being used by kids all over the world to learn to program and understand how computers work.
Assemble and enclose the Raspberry Pi, We recommend a case with passive cooling or with a small fan and heat-sinks.
Yes of course you can the Pi without any case or cooling setup, But we recommend to use a cooling case for protection and better performance.
Download Kali-Linux Image from the official website.
You can get the download link from the below URL.
You need to select ARM image category, then choose the Raspberry Pi 64-bit Image.
Now you need to write this image to a Micro SD card, Which you are going to use it on your Raspberry Pi.
You can use either Balena Etcher or the official Raspberry Pi imager for this task.
Here we are using the official Raspberry Pi imager. You can download the imager from the following URL.
https://www.raspberrypi.com/software/
Here is the download link for Windows machines
https://downloads.raspberrypi.org/imager/imager_1.6.2.exe
Write Kali-Linux image to the Micro SD-Card. Please follow the following images.
1, Launch the Pi Imager and select Choose OS.
2, Select the option “Use Custome” for our Kali-Linux Image
3, Browse and choose the Kali-Linux Image we have downloaded from our PC.
4, Now select storage and choose our micro SD-Card and click write to write the Image.
Note: Please make sure you have selected the correct storage, In our case the SD-Card. If you choose the wrong location the imager will wipe the selected storage location.
- step 5
Insert the Micro SD-card to your Raspberry Pi. Plug in your Raspberry Pi Power-Brick to the device and
connect your Pi to a monitor, also plugin your Mouse and Keyboard as well, Then power-on the power brick.
It will take some time for the initial bootup, Wait for it. If everything is perfect your Raspberry Pi will boot into Kali-Linux.
by Teffin Varghese | Jul 16, 2020 | Howtos, Networking, News, OS, Security, Servers, Storages, Troubleshooting

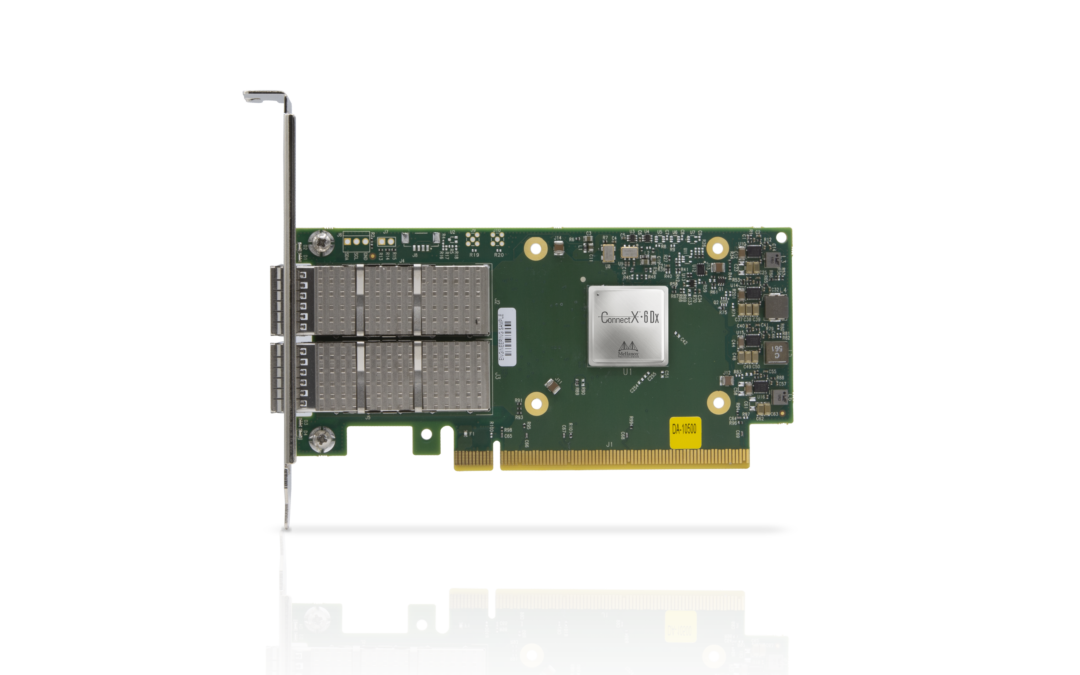
Step 1: Identify the Adapter model
===========================
You can use the lspci command to view the details of the Adapter.
[root@localhost ~]# lspci | grep Mellanox
a1:00.0 Infiniband controller: Mellanox Technologies MT28908 Family [ConnectX-6]
Here our Adapter is Mellanox Technologies MT28908 Family [ConnectX-6]
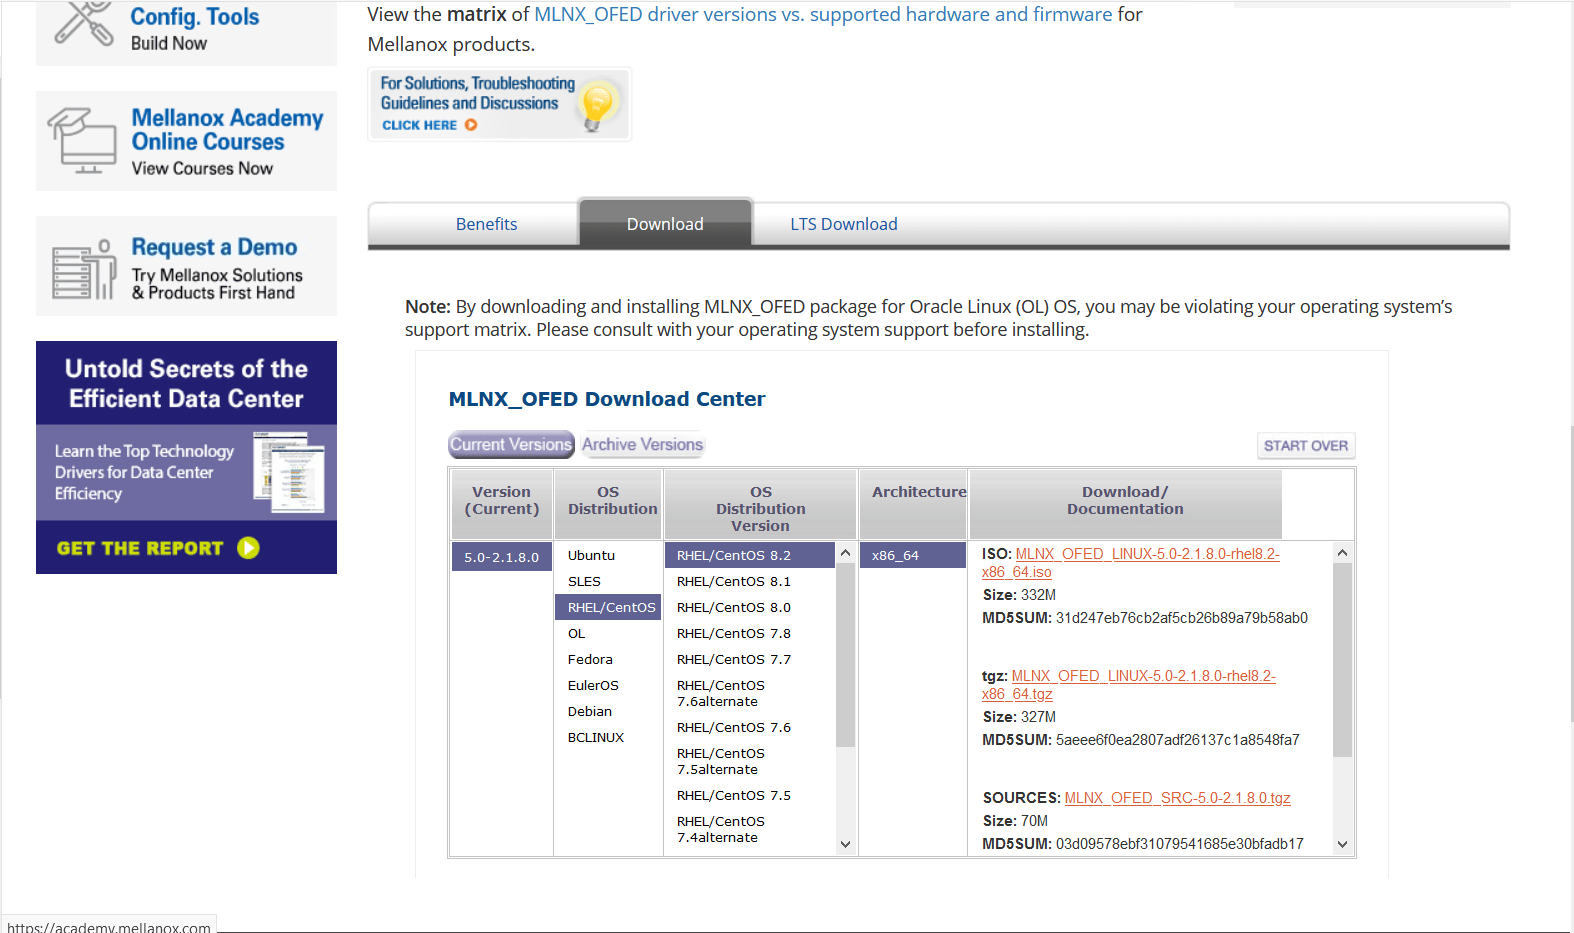
Step 2: Download the OFED driver for the Adapter.
===================================================================================
You can download the OFED driver from the below link and choose the OS and select the tar file for download.
https://www.mellanox.com/products/infiniband-drivers/linux/mlnx_ofed
https://www.mellanox.com/products/infiniband-drivers/linux/mlnx_ofed
You can use wget command to download the driver.
Example: wget http://content.mellanox.com/ofed/MLNX_OFED-5.0-2.1.8.0/MLNX_OFED_LINUX-5.0-2.1.8.0-rhel8.2-x86_64.tgz
http://content.mellanox.com/ofed/MLNX_OFED-5.0-2.1.8.0/MLNX_OFED_LINUX-5.0-2.1.8.0-rhel8.2-x86_64.tgz
Step 3: Extract the zip file.
============================================
Untar the zip file you have just downloaded
Example: tar -xvf MLNX_OFED_LINUX-5.0-2.1.8.0-rhel8.2-x86_64.tgz
Step 4: Navigate to the extracted directory.
======================================================================
Once you have extracted the tar file you can view a directory with the same name, navigate to the directory
by cd command
Example: cd MLNX_OFED_LINUX-5.0-2.1.8.0-rhel8.2-x86_64
Once you are in the directory please list the contents on the directory using a ls command.
and from the output you can view a script file name “mlnxofedinstall”
Step 5: Run the script file.
==========================================
You can run the script file using “./mlnxofedinstall”
Once you run the script the driver will be installed and once it is completed reload the driver or reboot the machine.
Note: The server must have Perl, python and GCC compilers for completing the driver installation.
If the installation run failed due to any unmet dependencies, please install the packages and libraries mentioned on the failed message.
Firmware upgrade.
————————–
Once the OFED driver is successfully installed then you can go with the firmware upgrade.
We are using the tool MSTFLINT for performing the firmware upgrade.
Step 1: First we need to identify the PCI bus ID of the adapter.
===========================================================================
Run “lspci | grep Mellanox” to determine the PCI bus ID
Example: [root@localhost ~]# lspci | grep Mellanox
a1:00.0 Infiniband controller: Mellanox Technologies MT28908 Family [ConnectX-6]
Here “a1:00.0” is our PCI bus ID.
Step 2: Download and unzip the Firmware Zip file.
=============================================================
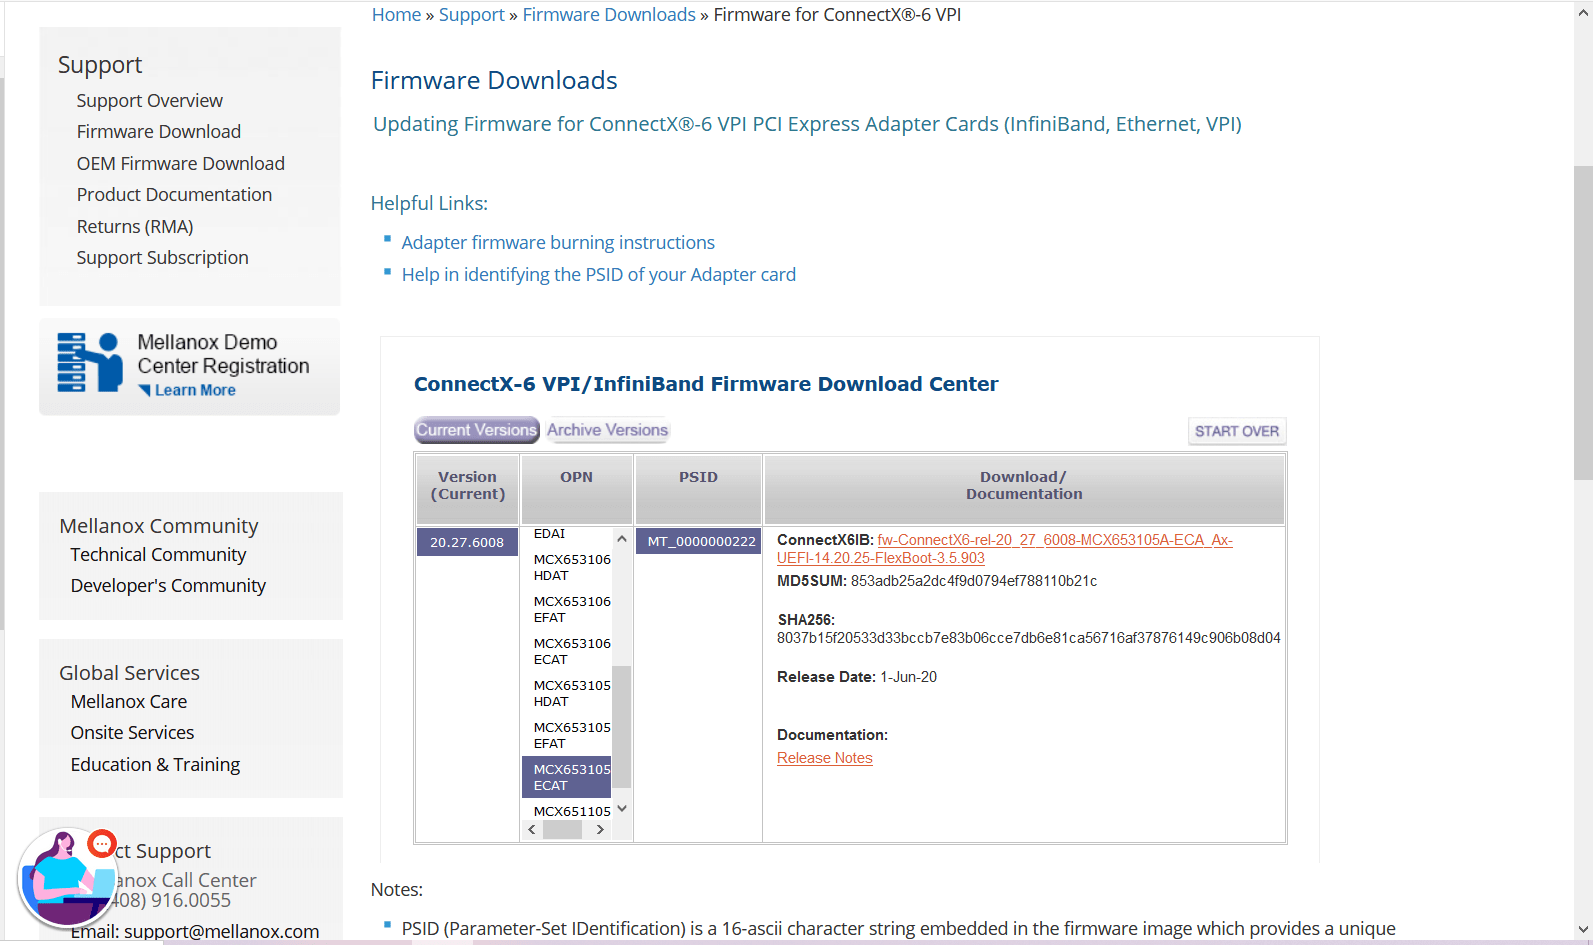
You can download the firmware from the official Mellanox website.
Link: https://www.mellanox.com/support/firmware/connectx6ib
https://www.mellanox.com/support/firmware/connectx6ib
Please download the firmware using “wget”
Example: wget http://www.mellanox.com/downloads/firmware/fw-ConnectX6-rel-20_27_6008-MCX653105A-ECA_Ax-UEFI-14.20.25-FlexBoot-3.5.903.bin.zip
http://www.mellanox.com/downloads/firmware/fw-ConnectX6-rel-20_27_6008-MCX653105A-ECA_Ax-UEFI-14.20.25-FlexBoot-3.5.903.bin.zip
Once it is downloaded unzip it by using the command “unzip”
Example: unzip fw-ConnectX6-rel-20_27_6008-MCX653105A-ECA_Ax-UEFI-14.20.25-FlexBoot-3.5.903.bin.zip
Once you unzip the file you can view a .bin file which is our firmware.
Example: fw-ConnectX6-rel-20_27_6008-MCX653105A-ECA_Ax-UEFI-14.20.25-FlexBoot-3.5.903.bin
Step3: Burn the firmware to the NIC.
============================================
You need the mstflint utility to update the firmware. You can download mstflint from the OpenFabrics site at mstflint_SW for Linux.
NOTE: If OFED is installed on your machine, then mstflint is already installed.
For burning the new firmware run
the command in the same directory as the firmware file, run “mstflint –d <PCI bus ID, i.e. 05:00.0> -i <.bin file> b”
Example: mstflint -d a1:00.0 -i fw-ConnectX6-rel-20_27_6008-MCX653105A-ECA_Ax-UEFI-14.20.25-FlexBoot-3.5.903.bin b
To load new FW run mstfwreset or reboot machine and check.
Example: [root@localhost ~]# ethtool -i ib0
driver: mlx5_core[ib_ipoib]
version: 5.0-2.1.8
firmware-version: 20.27.6008 (MT_0000000222)
expansion-rom-version:
bus-info: 0000:a1:00.0
supports-statistics: yes
supports-test: yes
supports-eeprom-access: no
supports-register-dump: no
supports-priv-flags: yes
Here “ib0” is our interface name, yours maybe different.
Please refer Mellanox documentation if you need any further details.
https://www.mellanox.com/products/adapter-software/firmware-tools https://www.mellanox.com/support/firmware/update-instructions