Select Page

How to Install & configure iLO, HP Integrated Lights Out (iLO) on Android

go to Google play and search HP iLO or here is the link to Google Play 

Supported servers

  • HP ProLiant Gen8 Servers
  • HP ProLiant G7 Servers

Supported mobile operating systems

  • Android 2.2 or greater
  • iOS 4.3 or greater

Manage

  • Operate the server power switch
  • Use the Remote Console to interact with the operating system, including BIOS and ROM configuration changes
  • Mount an ISO CD/DVD image. The disk image is available on the server as a USB CD/DVD drive. You can boot from the disk image and deploy an operating system
  • Launch HP iLO scripts and monitor their progress
  • Access the iLO web interface
  • Store the list of servers you want to manage
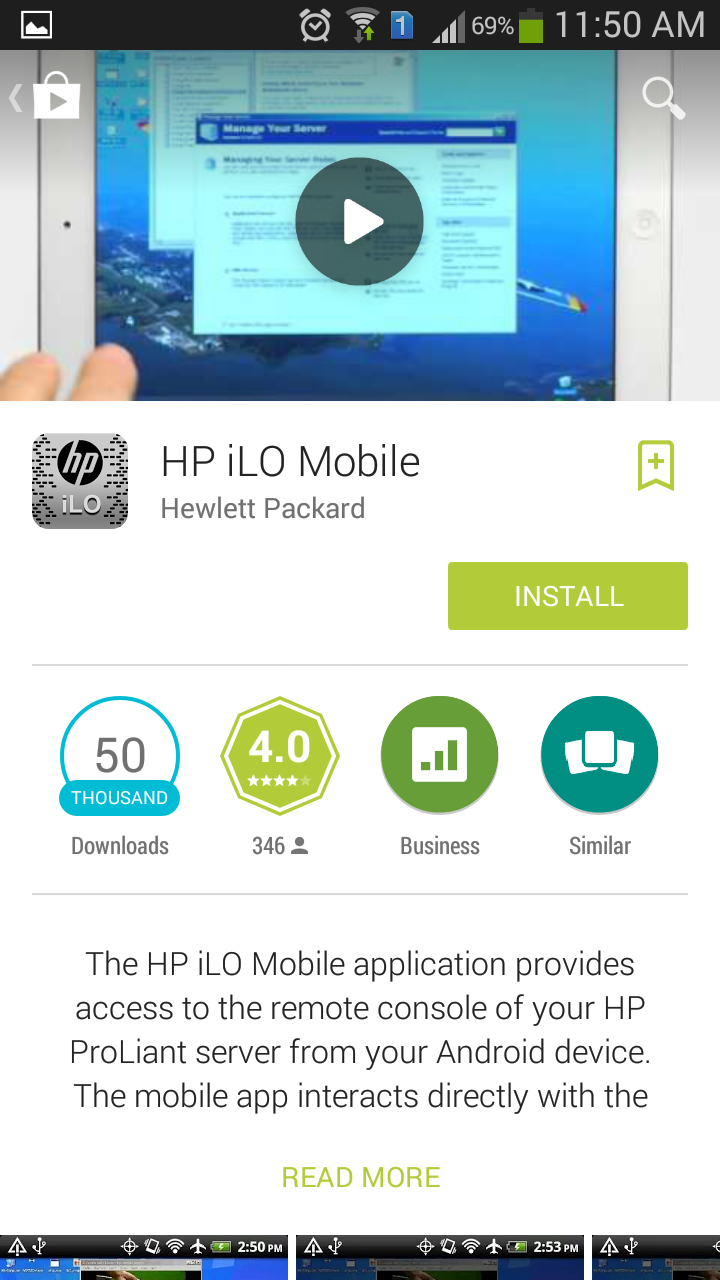
install it and launch it 


after launching the application click 
configure iLO option
add assigned ip for iLO 
Login name and password


click done after adding the details 
click the iLO ip 
you will get 3 options 
  1. Remote Console
  2. Lauch Script
  3. iLO Web Interface
click Remote Console
 for using iLO
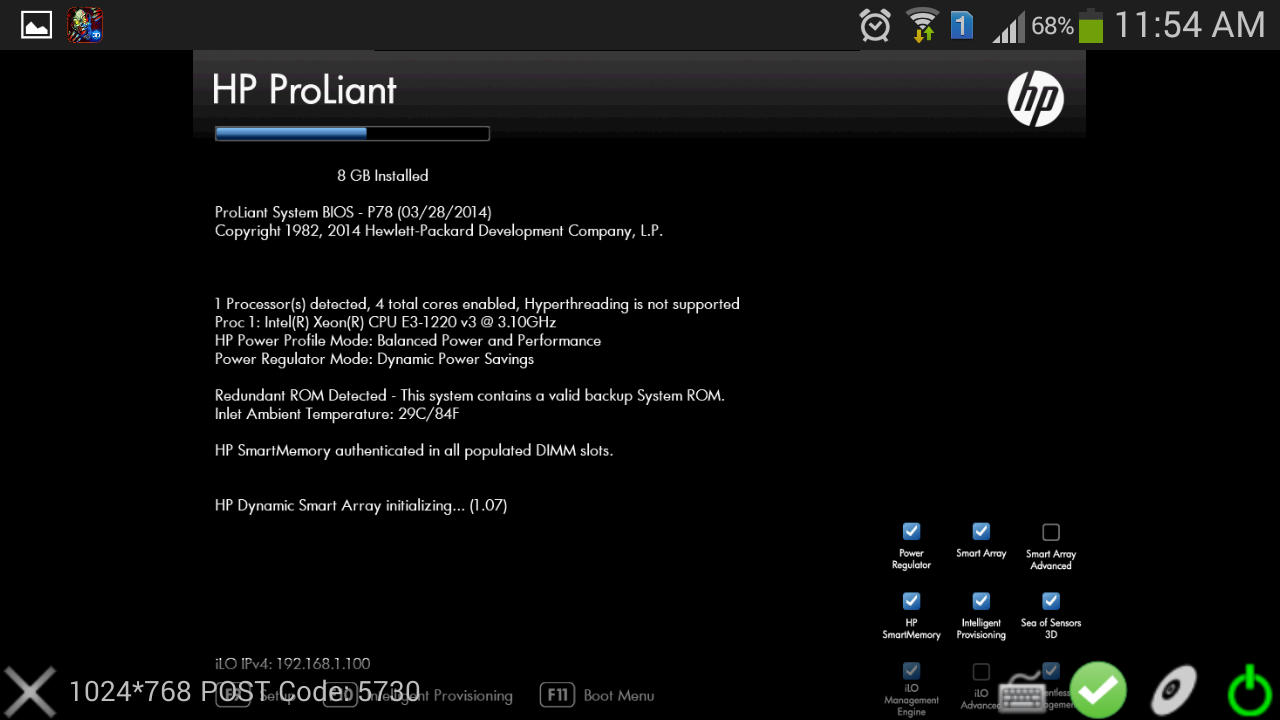

Quick tips

  • Show/Hide menu bar – Tap once with two fingers to show or hide the menu bar in the Remote Console
  • Show/Hide iLO web interface – Tap the server health icon in the Remote Console to show or hide the iLO web interface
  • Ctrl/Alt/Del Command – Tap Ctrl+Alt+backspace to enter the Ctrl+Alt+Del command

Intelligent Provisioning 1.60 breaks 2008 R2 install (will not accept product key during setup)

Intelligent Provisioning 1.60 breaks 2008 R2 install (will not accept product key during setup)

On HP Proliant ML 310e V2 Gen8 / DL380p Gen8 servers to install 2008R2 /2014R2 using IP 1.60.  After the GUI for Windows setup starts, it fails on the autounattend.xml that IP 1.60 generates on the ProductKey.


After the setup fails it drops you back to a command prompt in WinPE

in the command prompt type the following command

notepad c:autounattend.xml 

this will now open up autounattend.xml in notepad


now press ctrl + f and search for the string ProductKey


just below this string insert a new line contains the string “only the tags”
now save the file
then type the command to begin the installation process

x:WindowsHpssbem.exe 


installation will end fine 🙂

How to make Multiple ISO bootable Pendrive (Windows & Linux same time)

How to make Multiple ISO bootable Pendrive (Windows & Linux same time)

Connect your usb drive to your pc (min 8gb)

Open up gparted tool in you linux

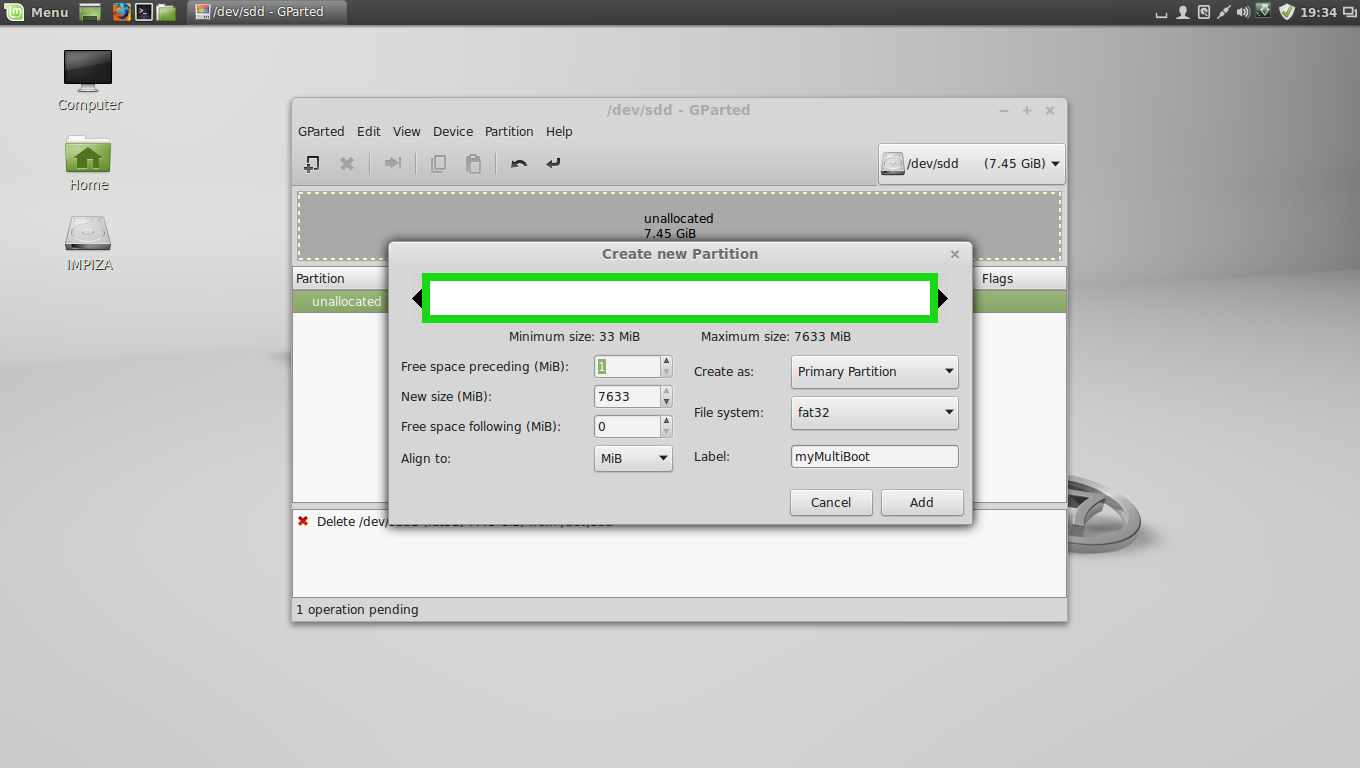
format your pendrive in fat32 format


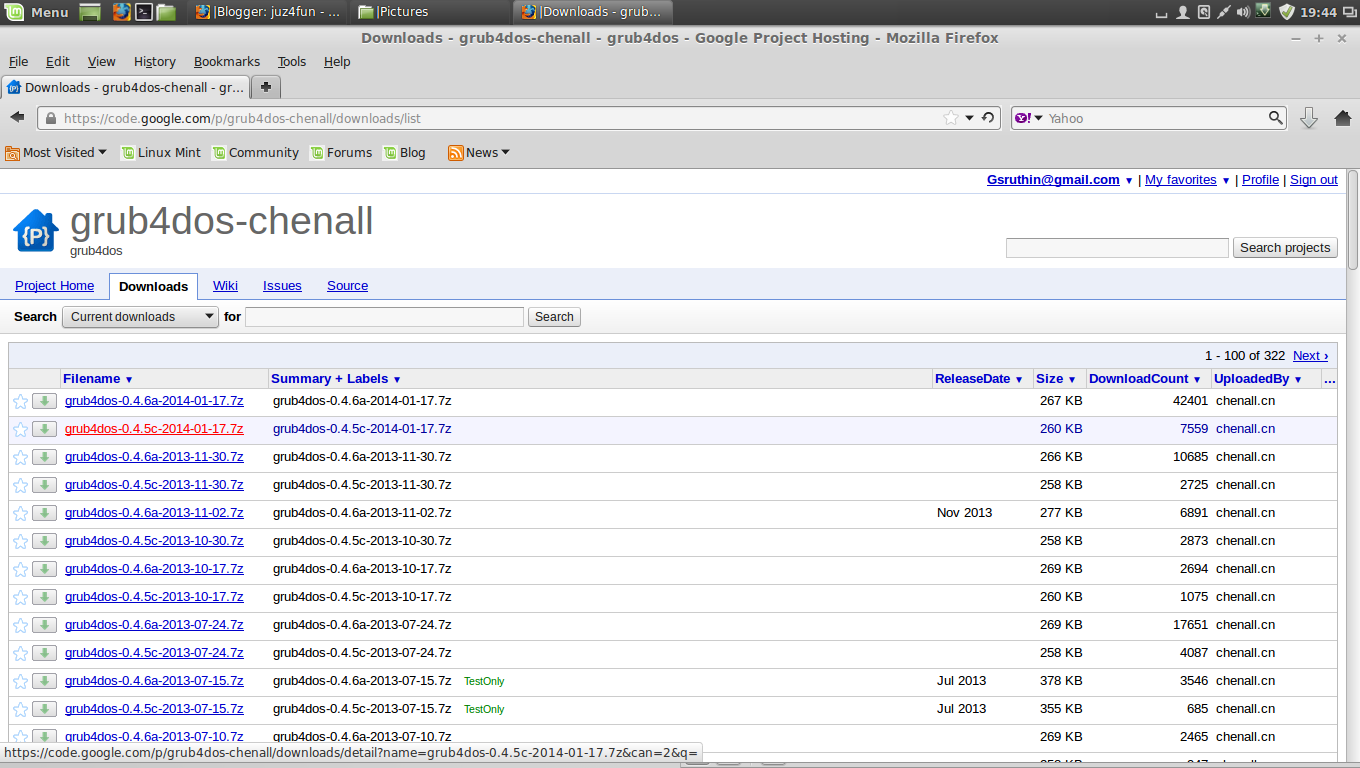
after that download grub4dos-0.4.5c (not grub4dos-0.4.6a)


here is the link https://code.google.com/p/grub4dos-chenall/downloads/list


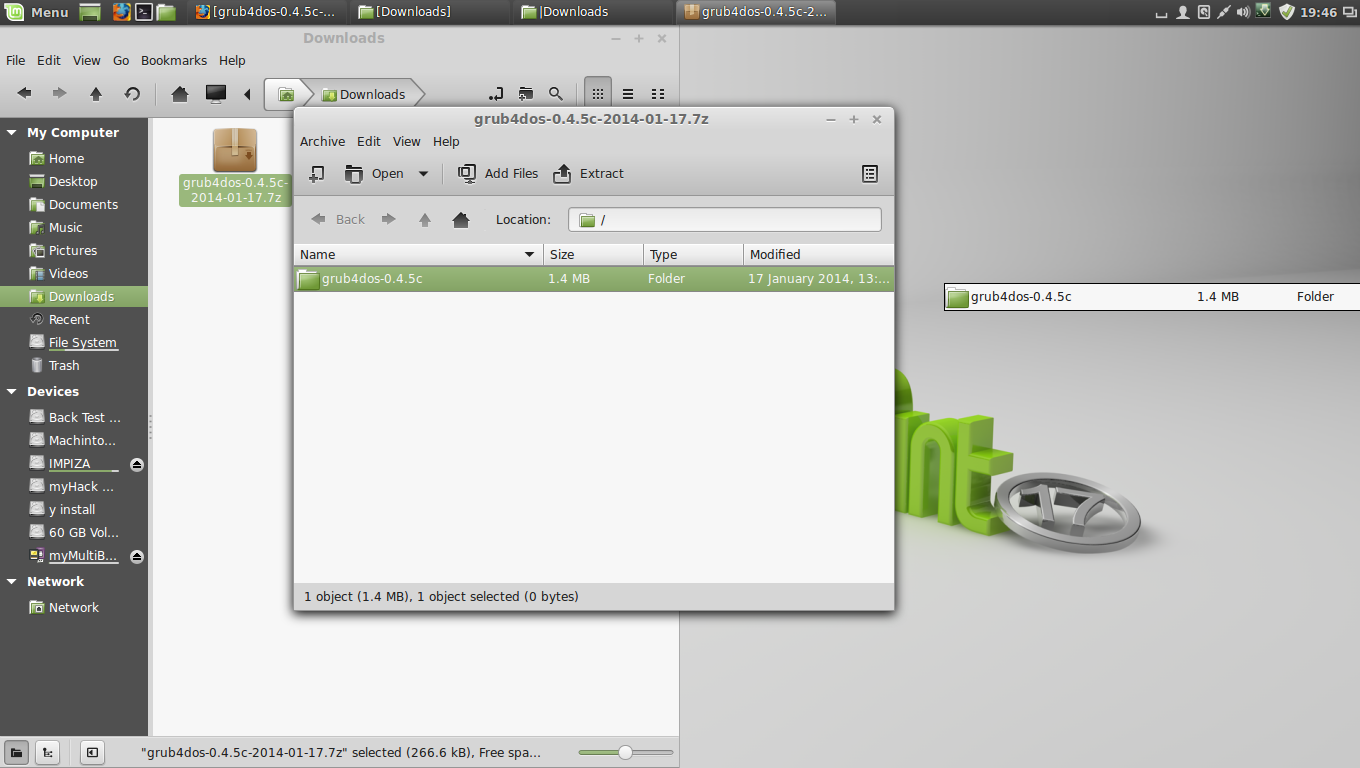
and extract it to the desktop

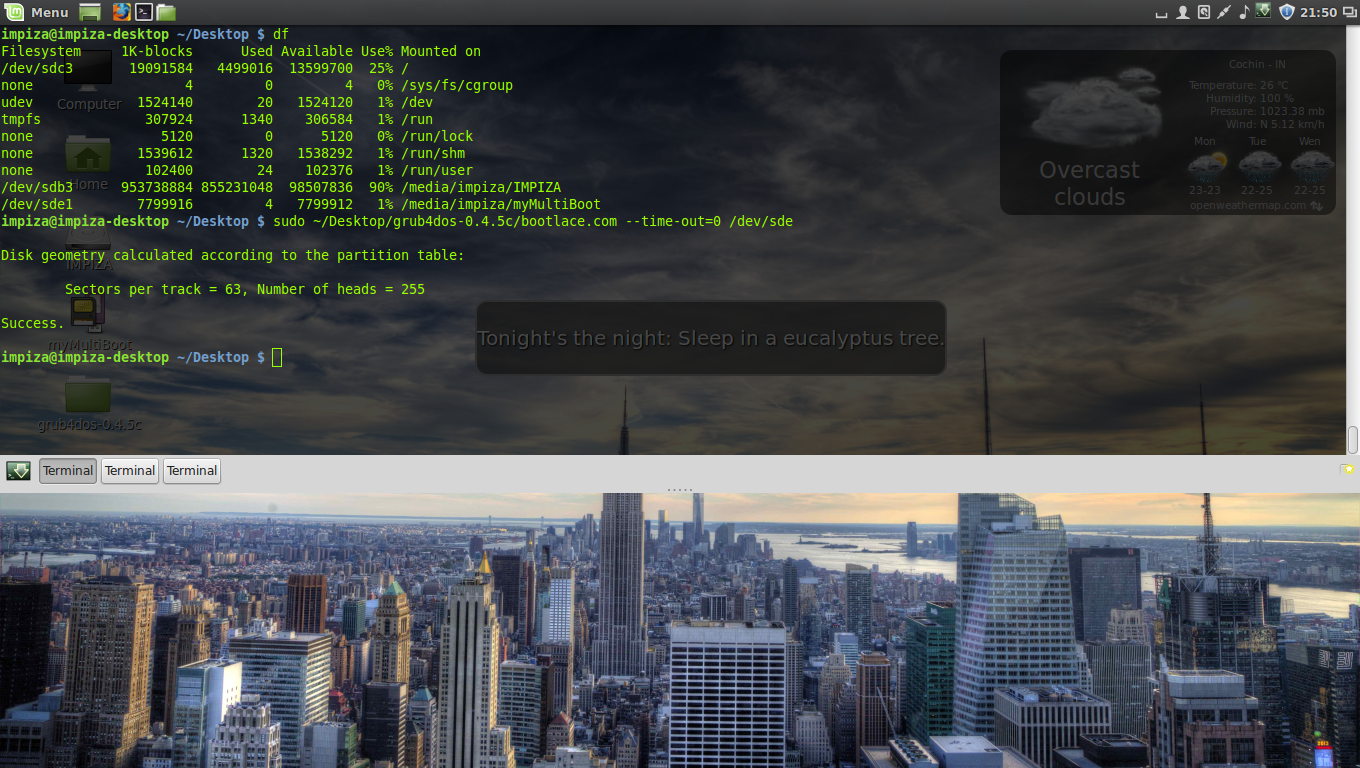
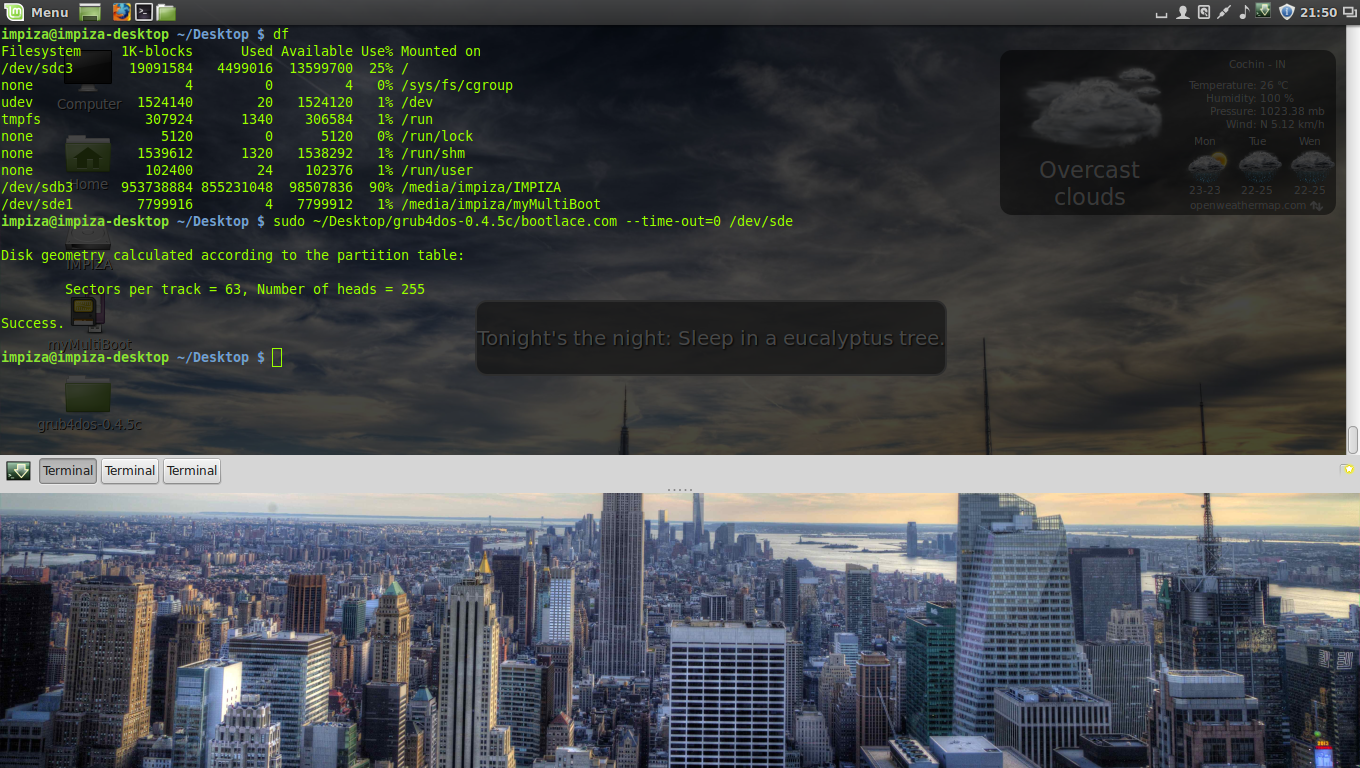
type following command in terminal

 df 


which will give you details about your pendrive and all drives

  • from there you can find your filesystem name of pendrive

  • in this case its /dev/sde1 but in the following command line we only need to use /dev/sde

then install the grub4dos on the MBR with zero second time-out on your USB Stick,by typing the following command in the terminal


 sudo ~/Desktop/grub4dos-0.4.5c/bootlace.com --time-out=0 /dev/sde 

Note: You can change the path to your grub4dos folder. sde is your USB and can be checked by ” df ” command in a terminal or by using the gparted or disk utility tools

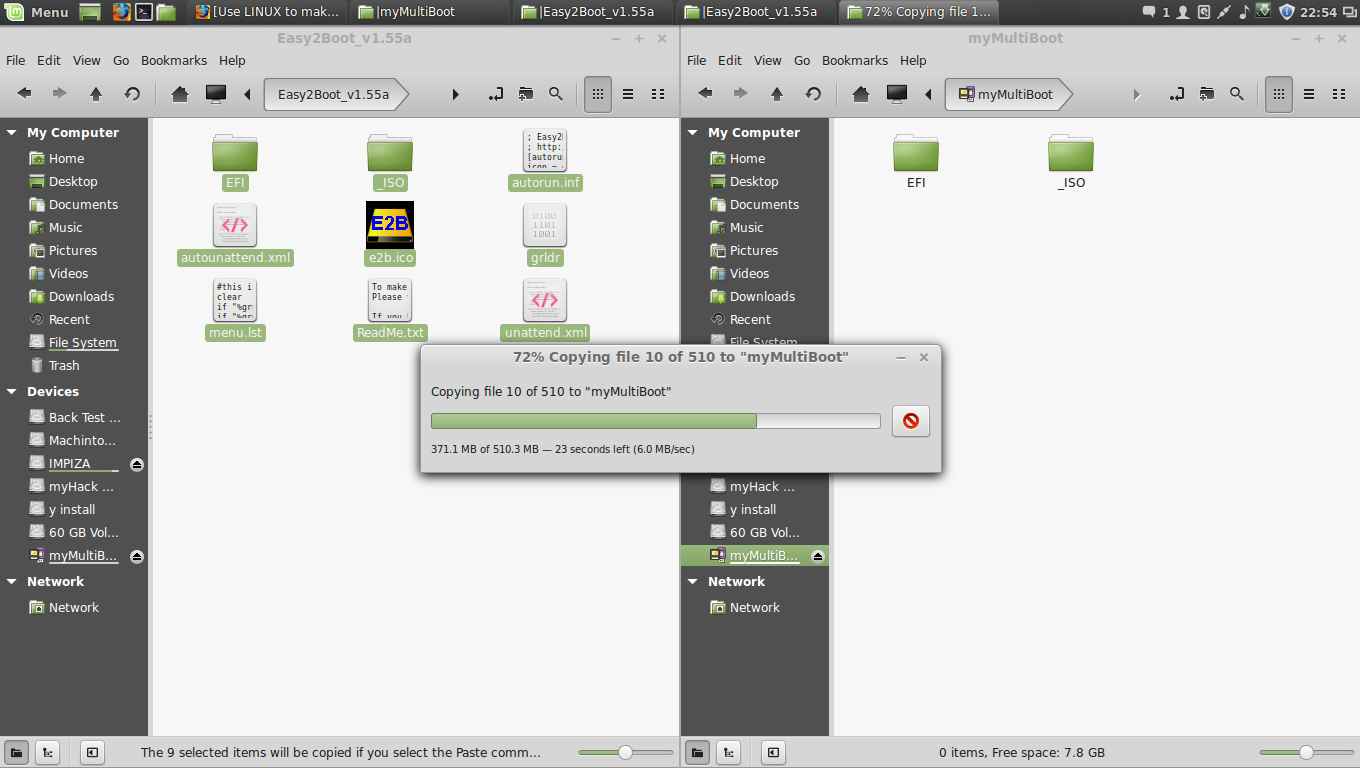
Copying Easy2Boot files to USB

your pendrive is ready to boot , but we need menu files, which are necessary to detect the .ISO files in your USB.


go to Easy2Boot website http://www.easy2boot.com/download/

then extract its files to your pendrive

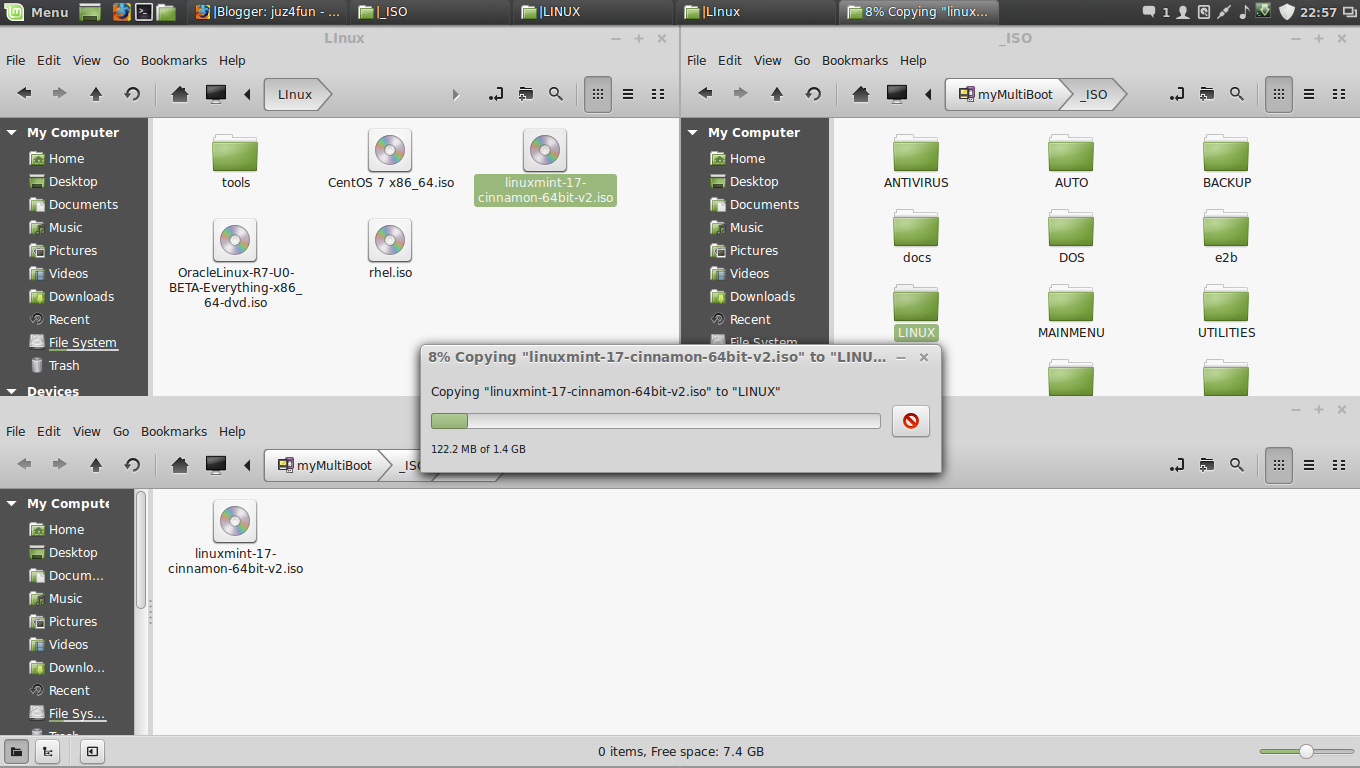
after that you find both windows and linux related ISO folders simply copy your ISO’s to corresponding  OS folders

Adding Linux .ISO files
 After that adding Windows ISO Files to Windows Version Folder

dont just put windows ISO file to _ISO/WINDOWS like _ISO/LINUX because in windows folder  there is Version Folders you have to put it there like ” XP,VISTA,WIN7,WIN8,SVR2K8R2,SVR2012 “

after this you need to defragment the folders in the USB drive,To defrag your USB drive, download the defrags-1.1.1.gz file from


http://defragfs.sourceforge.net/download.html

extract it to desktop
then unmount using this command

 sudo umount /dev/sdd1

/dev/sdd1  (i have reboot pc so its changes from sde to sdd) type in terminal        ” df  ” to find current one 

sdd1 is the partition on my usb which has the E2B files.

 sudo mkdir ~/Desktop/usb && sudo mount /dev/sdd1 ~/Desktop/usb


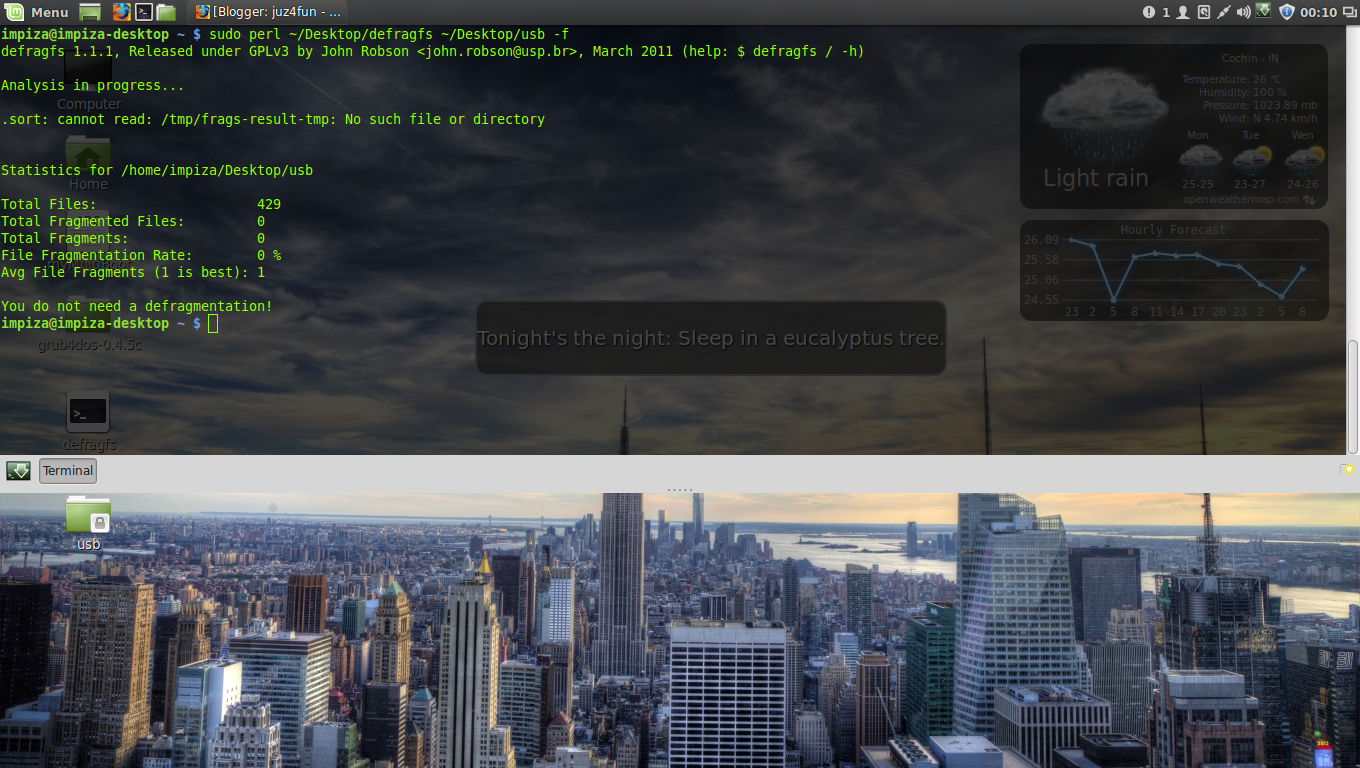
 sudo perl ~/Desktop/defragfs ~/Desktop/usb -f

Swap space for Linux

What is Swap? 

How much is really needed ?

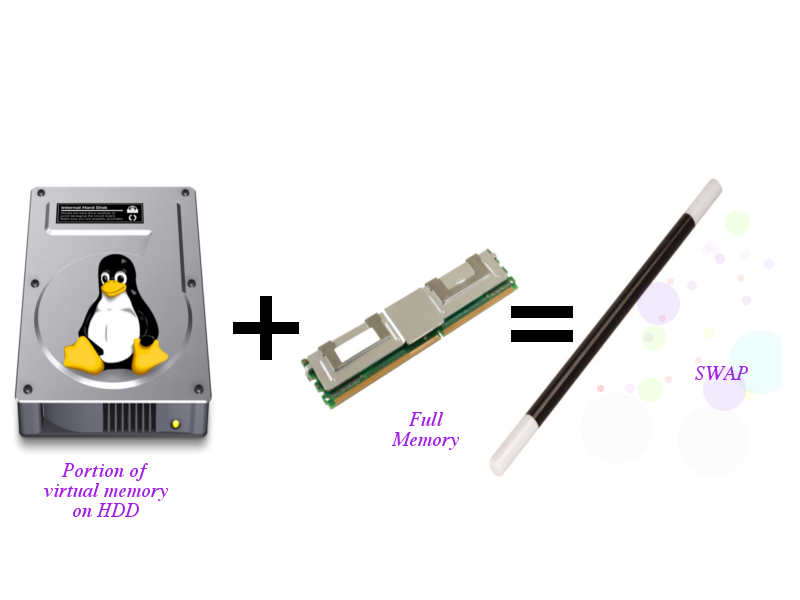
Linux divides its physical memory (RAM) into chunks called pages. Swapping is the process whereby pages get transferred to a preconfigured hard disk area. The quantum of swap space is determined during the Linux installation process. This article is all about swap space, and explains the term in detail so that newbies don’t find it a problem choosing the right amount of it when installing linux

Swapping is required for two reasons:

  • When more memory than is available in physical memory (RAM) is required by the system, the kernel swaps less used pages and gives the system enough memory to the run the application smoothly.
  • Certain pages are required by the application only at the time of initialisation and never again. such files are transferred to the swap space as soon as the application access these pages.
Earlier rule stated that the amount of the swap space should be double the amount of physical memory (RAM) available. i.e. , if we have 8 Gb of RAM , then we ought to allot 16 Gb to the swap space , But this is not very effective these days.

Amount of swap space depends on the kind of application you run and kind of user you are 

The following rules can effectively help to improve Linux’s performance on your system

For Normal Servers:

  • Swap space should be equal to RAM  size if RAM  size is less than 2 Gb
  • Swap space should be equal to 2 Gb if RAM  size is greater than 2 Gb . , 

For heavy duty servers with fast storage requirements:


  • Swap space should be equal to RAM  size if RAM size is less than 8 Gb
  • Swap space should be equal to 0.5 times the size of the RAM if the RAM  size is greater than 8 Gb
if you have already installed Linux, you can check your swap space by using the following command in the Linux terminal :

Last login: Wed Aug 27 00:47:38 on ttys001
Linuxbox:~ IMPIZA$  cat/proc/swaps _ 

OS X Yosemite Beta is Released

OS X Yosemite Beta is now available


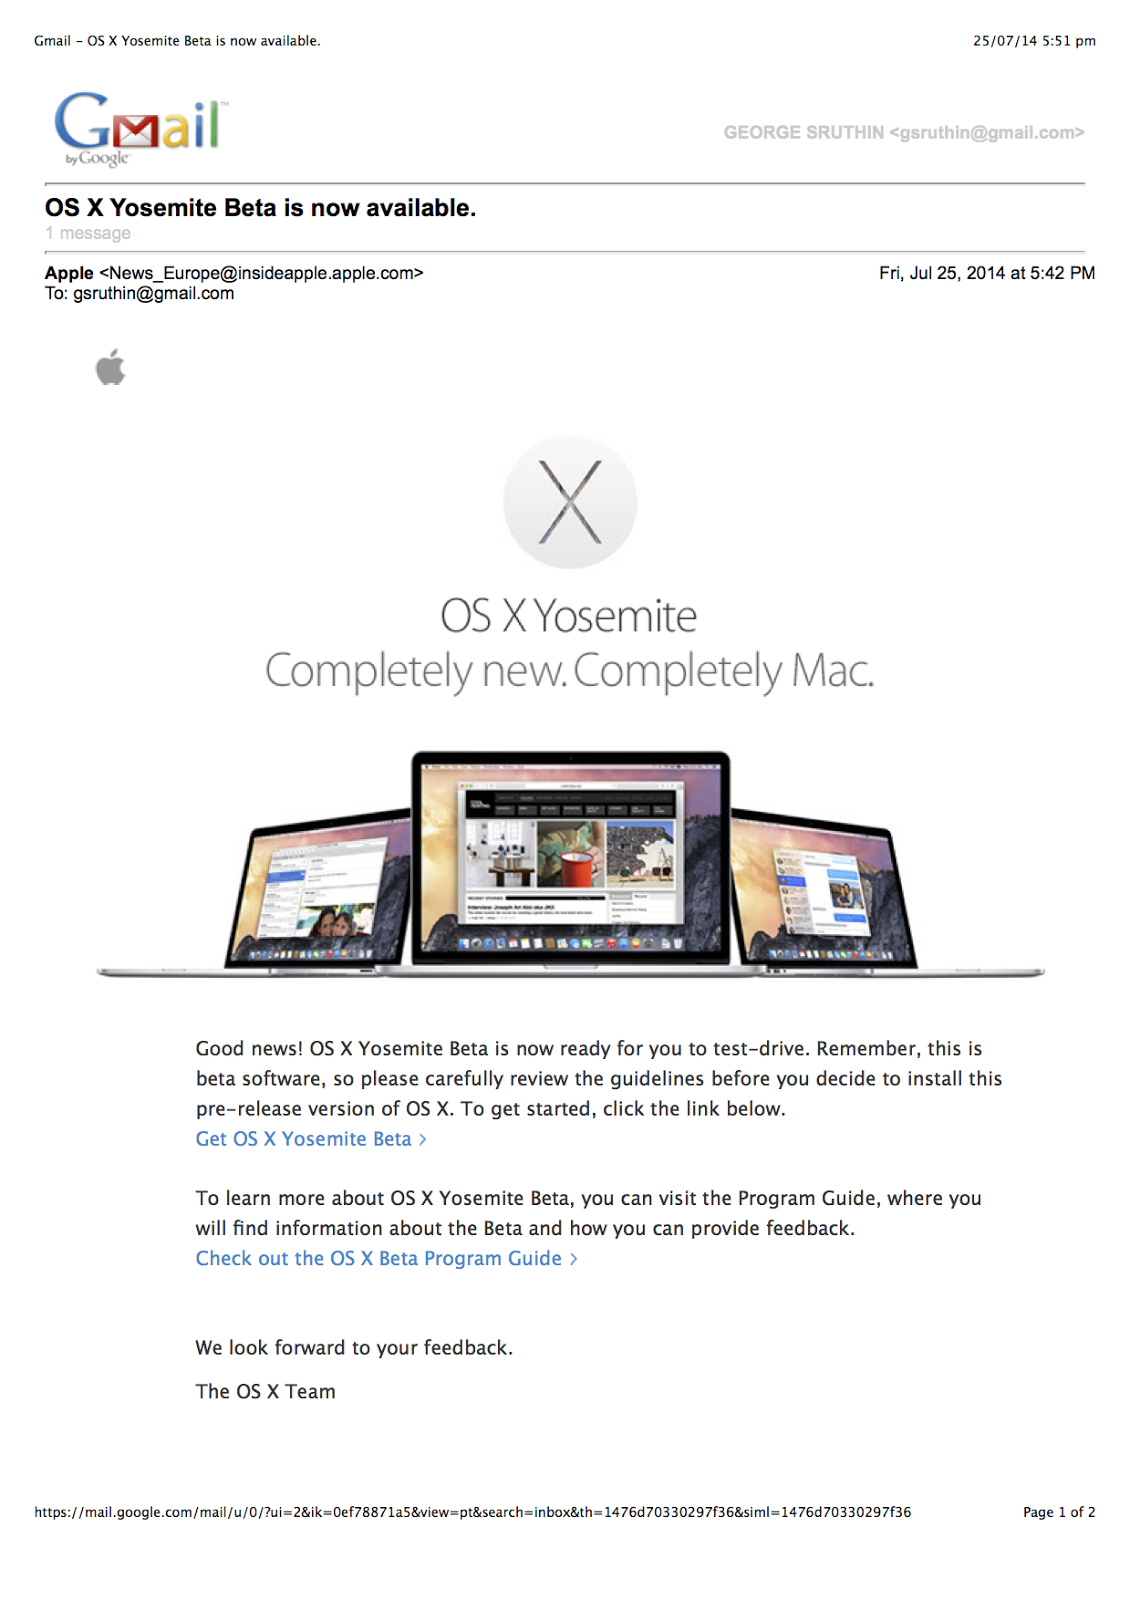
i have just got an email from apple Beta Program


Click “Get OS X Yosemite Beta” to download Yosemite
sign in using apple id and password
“ Those who don’t have Apple Beta Program
please go through this post Apple opens OS X Beta program which i have made earlier 
signup there and sign in 
then go to this url  Yesomite Beta 1 Downlaod to get your download copy “

Requirement

Make sure your Mac can run 

OS X Yosemite Beta.

To use this beta software, your Mac must have the following:
  • OS X Mavericks 10.9 or later installed
  • At least 2GB of memory
  • At least 8GB of availble disk space
To check the specifications of your Mac:
Click on the Apple Icon > Then click on About this Mac
Click the link below if you don’t have OS X Mavericks v10.9 or later installed.

Back up your Mac.

Please note that you are about to install beta software. Always back up your data
and files before installing beta versions of OS X. If you have another Mac, we
recommend installing OS X Yosemite Beta on your secondary computer.
Backing up files on a Mac is easy with Time Machine, the built-in backup utility
in OS X.

Download and install OS X Yosemite Beta.

To download OS X Yosemite Beta, click the Download button below. The Mac App
Store will open with your redemption code already entered. In the Mac App Store
click the Redeem button to start your download and follow the on screen instructions.
    Things you should know before installing OS X Yosemite Beta:

  • This is beta software that is still in development, which means some applications

 and services may not work as expected.

  • We recommend installing OS X Yosemite Beta on a secondary Mac. For important                                       information about resetting your Mac to OS X Mavericks, click here.
  • Important note: Enabling iCloud Drive during setup will disable iCloud Documents                                             and Data for all your existing devices. Learn More

    then accept terms 

    copy your OS X Yosemite Beta Redemption Code

    Click on Download OS X Yosemite Beta

    then your app store will open up this may ask for your sign in id and password
    after reloading your page it may look like this

    OS X Yosemite Beta starts downloading Click Launchpad to view status

    it will look like this


    Enjoy

    Pin It on Pinterest