by George Sruthin | Aug 18, 2017 | OS, Servers, Troubleshooting, Windows
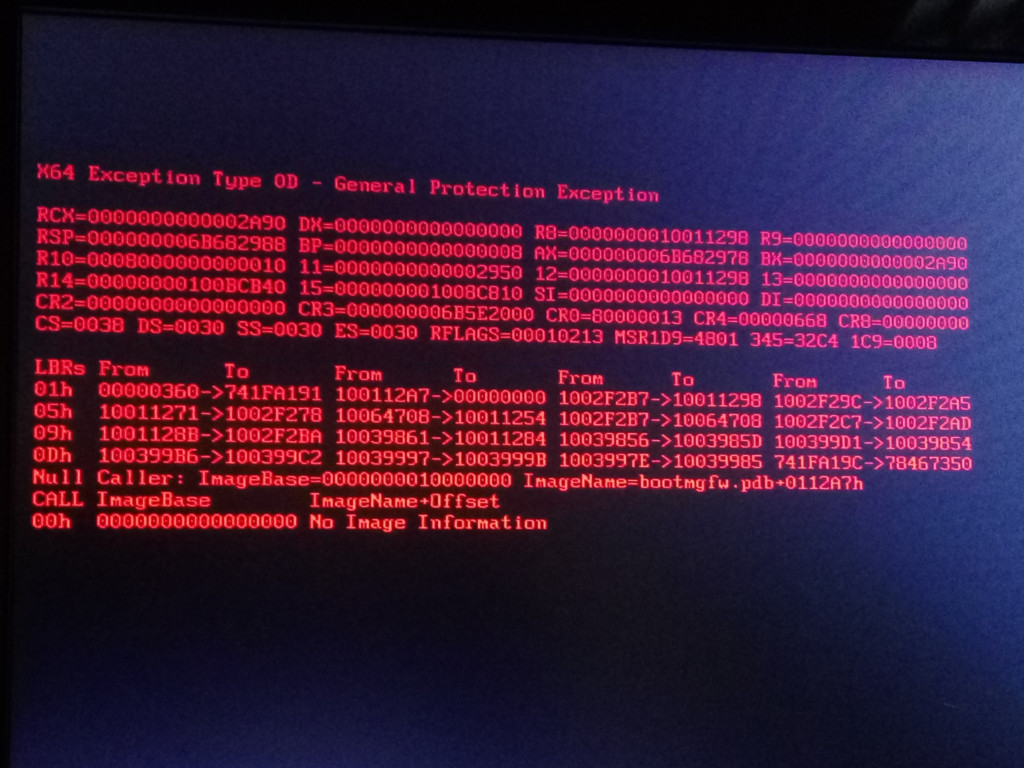
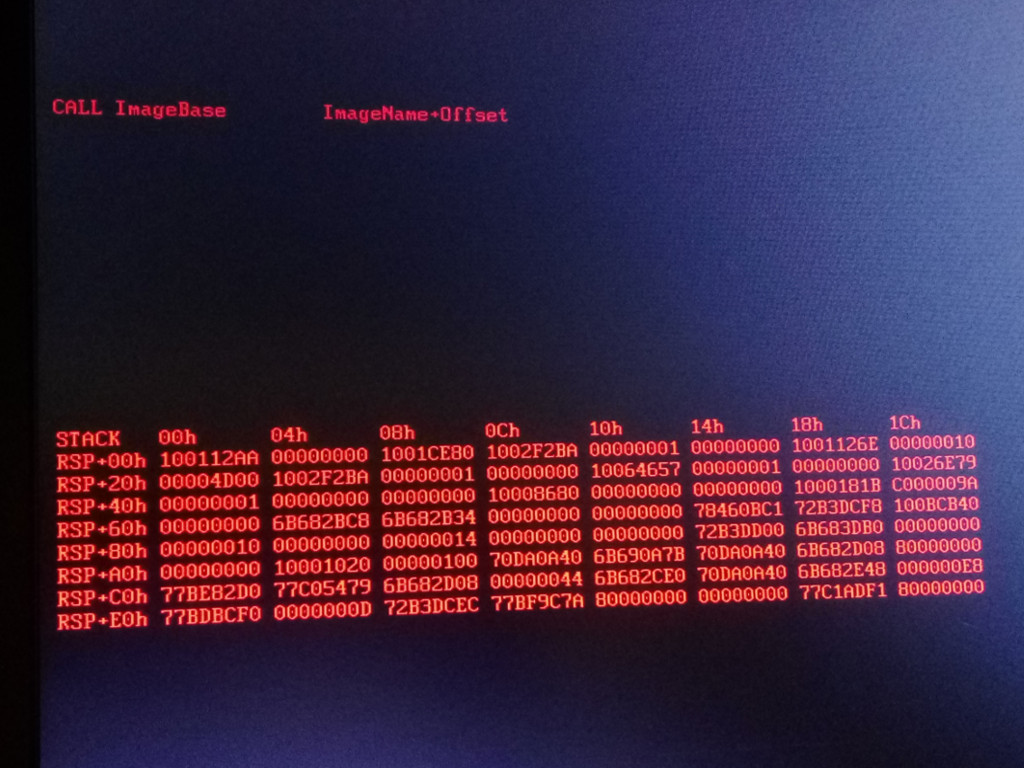
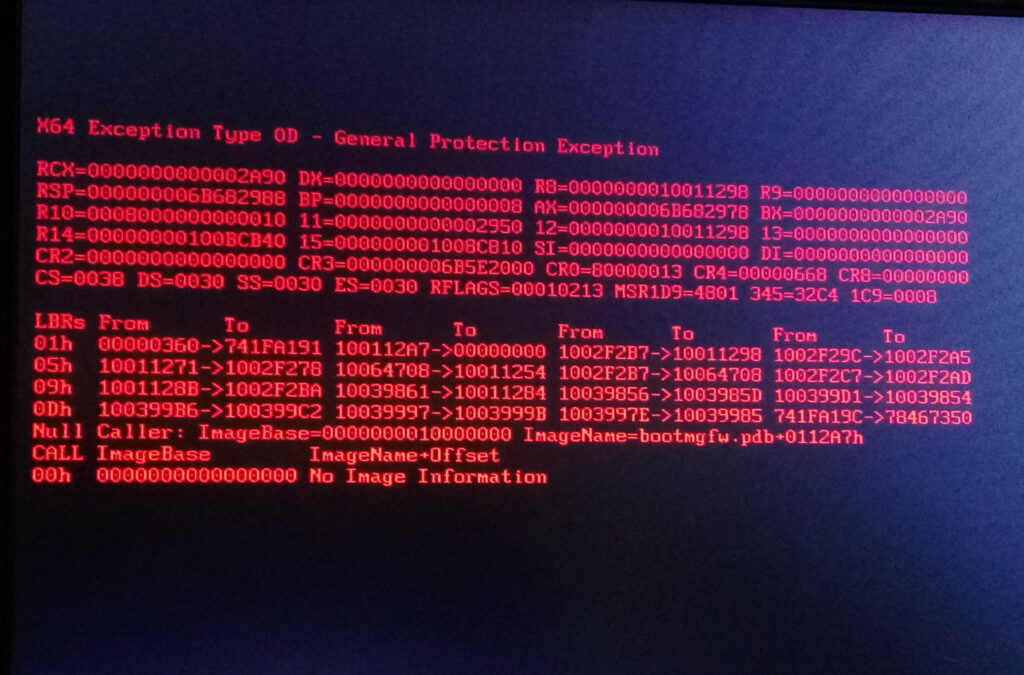
I faced this error after changing the motherboard
so i googled as per the HPE advisory says its the issue is with the HBA card firmware so you need to use SPP to upgrade firmware, BTW the server is equiped with HBA240 please check the below given url for more reference to fix this issue you can use SPP as per HPE
but above step didnt fix my issue
So as suggested by HPE Tech team i have perform the steps given below
BIOS backup and Restore on replaced system board and check the status. Please find the process
1: Format a USB with FAT 32. and add a folder with a specific name so that you can confirm you have mounted to correct directory
2: Connect it directly with the Gen9 server.
3: Reboot the server.
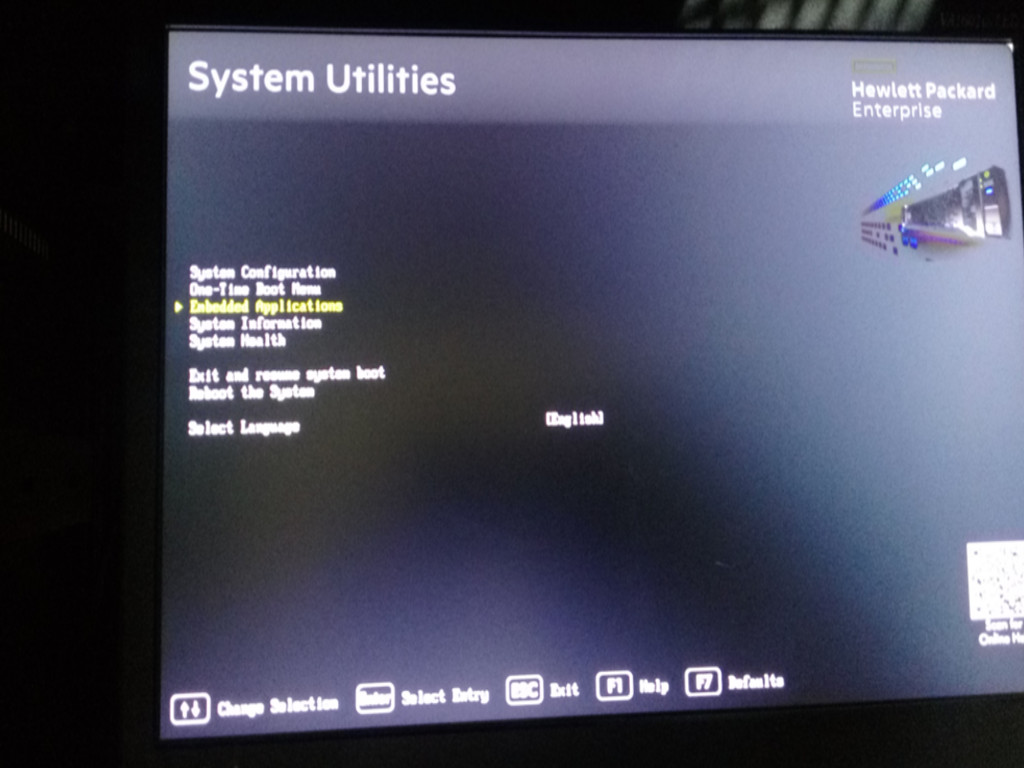
4: While Posting Tap F9 while it prompts to enter into the UEFI BIOS.
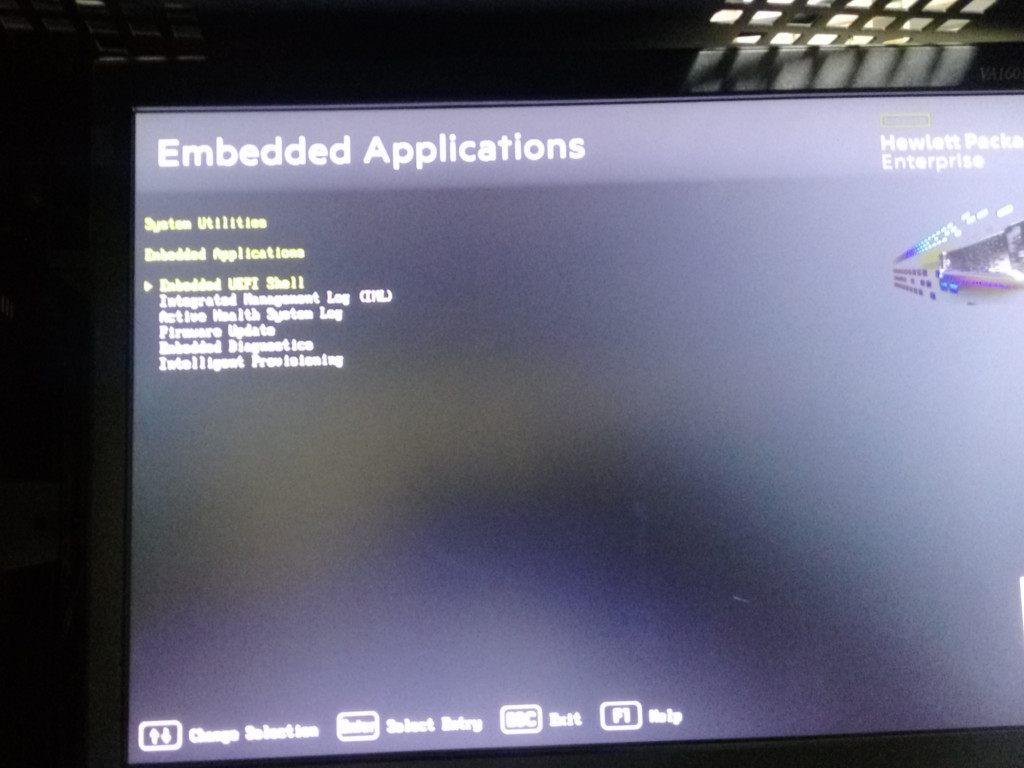
5: Once in UEFI BIOS select ” Embedded Application “.
6: Further Select ” Embedded UEFI Shell “.
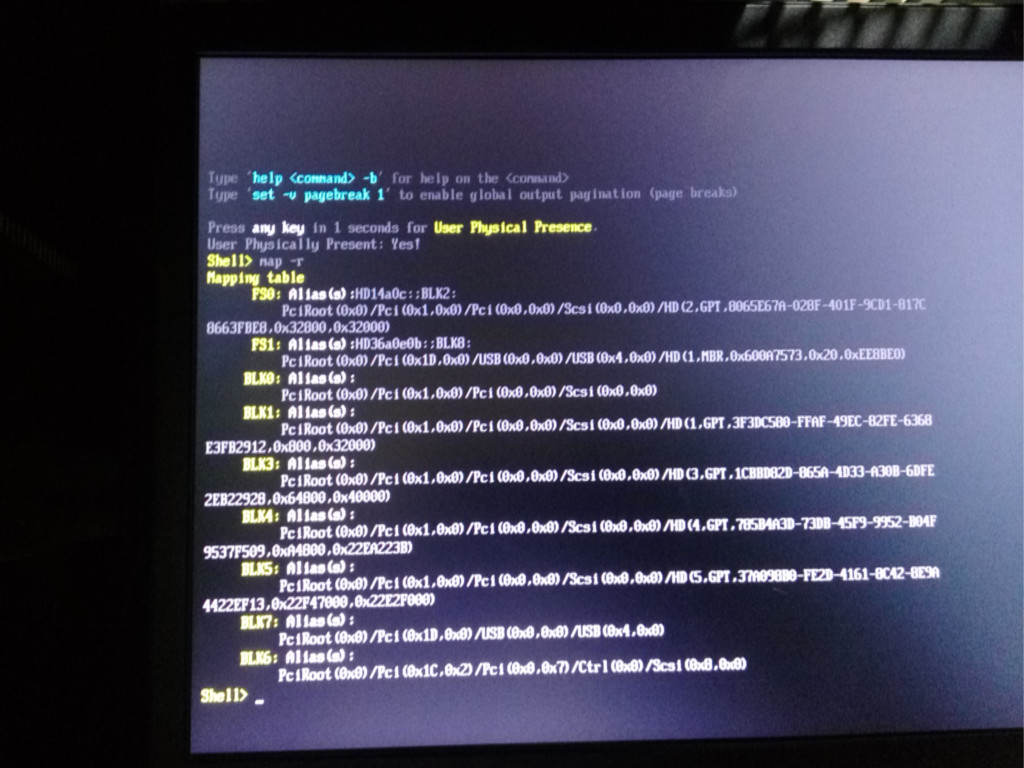
7: Once you are in ” Shell > ” prompt.
8: Type : map -r
9: It will list the connected USB as FS0: . this may vary. in my case i have seen BOTH “FS0: & FS1:” so you shoud check its your usb or other devices as i said earlier you should mount the device and check for the folder which we have created. type cd ” FS0: ” or ” FS1 ” OR ” FSnth ” number of devices and check .type ” ls ” this will show created folder, if your folder is missing change ID from FS0: TO FSnth: if folder is present we can continue to next step
n th = number of FS devices
10: Then type *FS0: ( Tap Enter )
11: It will change the directory into FS0 (ie: USB connected externally)
12: Then type ” sysconfig -export filename.conf ” from the FS0:\> prompt (This will export the BIOS configuration into a file named (filename .conf)
13: To edit the BIOS configuration file :
14: Type edit filename.conf from FS0:\> prompt
15: Once editing is done then tap Ctrl + Q at the same time to exit from the editing screen. If you want to save the changes then Tap ” y ” else ” n “.
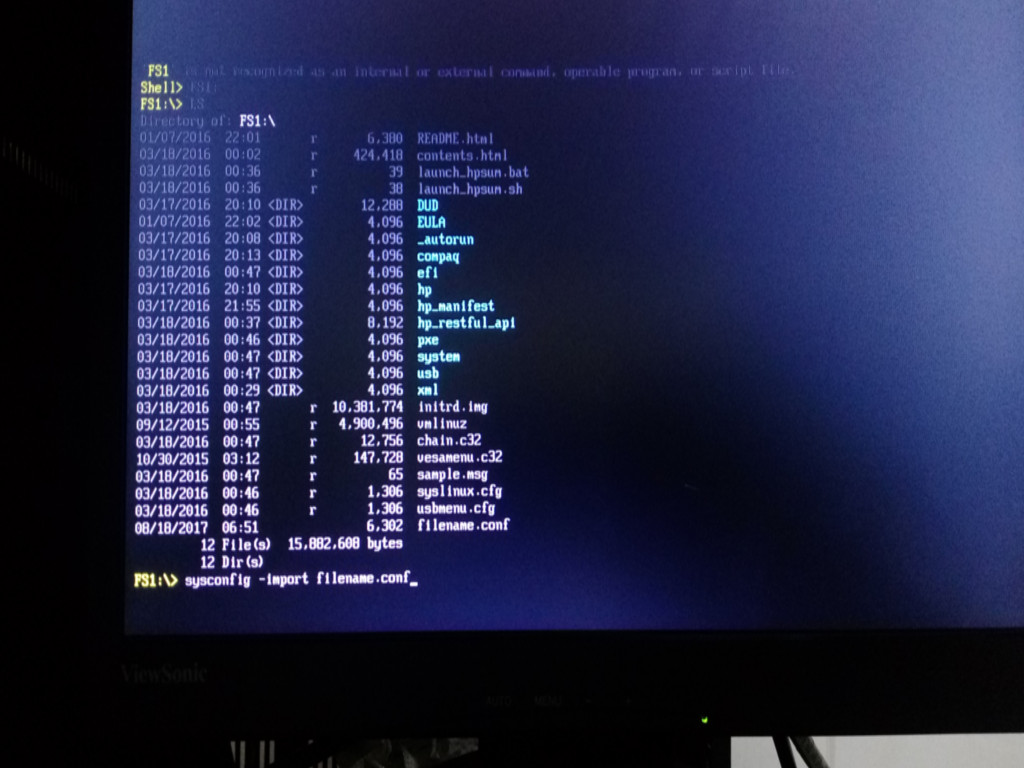
16: To import the changed file from the USB into the server type : sysconfig -import filename.conf from FS0:\> prompt
17: It will import the file and change the configuration in the server BIOS automatically.
18: To verify the changes reboot the server and check.

by Teffin Varghese | Aug 14, 2017 | Howtos, Linux, Networking, OS, Servers, Troubleshooting, VMware Esxi, Workstation
IPv6 [Internet Protocol version 6]

Introduction.
Internet Protocol Version 6 (IPv6) is a network layer protocol that enables data communications over a packet switched network.
Packet switching involves the sending and receiving of data in packets between two nodes in a network. The working standard for the IPv6 protocol was published by the Internet Engineering Task Force (IETF) in 1998.
The IETF specification for IPv6 is RFC 2460. IPv6 was intended to replace the widely used Internet Protocol Version 4 (IPv4) that is considered the backbone of the modern Internet.
IPv4 currently supports a maximum of approximately 4.3 billion unique IP addresses. IPv6 supports a theoretical maximum of 2128 addresses (340,282,366,920,938,463,463,374,607,431,768,211,456 to be exact!).
IPv6 and IPv4 share a similar architecture. The majority of transport layer protocols that function with IPv4 will also function with the IPv6 protocol. Most application layer protocols are expected to be interoperable with IPv6 as well, with the notable exception of File Transfer Protocol (FTP)
An IPv6 address consists of eight groups of four hexadecimal digits. If a group consists of four zeros, the notation can be shortened using a colon to replace the zeros.
A main advantage of IPv6 is increased address space. The 128-bit length of IPv6 addresses is a significant gain over the 32-bit length of IPv4 addresses, allowing for an almost limitless number of unique IP addresses.

IPv6 features
—————-
* Supports source and destination addresses that are 128 bits (16 bytes) long.
* Requires IPSec support.
* Uses Flow Label field to identify packet flow for QoS handling by router.
* Allows the host to send fragments packets but not routers.
* Doesn’t include a checksum in the header.
* Uses a link-local scope all-nodes multicast address.
* Does not require manual configuration or DHCP.
* Uses host address (AAAA) resource records in DNS to map host names to IPv6 addresses.
* Uses pointer (PTR) resource records in the IP6.ARPA DNS domain to map IPv6 addresses to host names.
* Supports a 1280-byte packet size (without fragmentation).
* Moves optional data to IPv6 extension headers.
* Uses Multicast Neighbor Solicitation messages to resolve IP addresses to link-layer addresses.
* Uses Multicast Listener Discovery (MLD) messages to manage membership in local subnet groups.
* Uses ICMPv6 Router Solicitation and Router Advertisement messages to determine the IP address of the best default gateway.
Adding a Temporary IPv6 Address on Linux.
=================================
Using “IP”
———-
/sbin/ip -6 addr add <ipv6address>/<prefixlength> dev <interface>
eg: /sbin/ip -6 addr add 2001:49f0:2920::a2/64 dev eth0
Using “ifconfig”
——————
/sbin/ifconfig <interface> inet6 add <ipv6address>/<prefixlength>
eg: /sbin/ifconfig eth0 inet6 add 2001:49f0:2920::a2/64
Add an IPv6 route through a gateway
============================
Using “ip”
———–
/sbin/ip -6 route add <ipv6network>/<prefixlength> via <ipv6address>
¬ [dev <device>]
eg: /sbin/ip -6 route add default via 2001:49f0:2920::1
Using “route”
—————
/sbin/route -A inet6 add <ipv6network>/<prefixlength> gw
¬ <ipv6address> [dev <device>]
eg: /sbin/route -A inet6 add default gw 2001:49f0:2920::1
Removing an IPv6 address
====================
Using “ip”
————
/sbin/ip -6 addr del <ipv6address>/<prefixlength> dev <interface>
eg: /sbin/ip -6 addr del 2001:49f0:2920::a2/64 dev eth0
Using “ifconfig”
——————
/sbin/ifconfig <interface> inet6 del <ipv6address>/<prefixlength>
eg: /sbin/ifconfig eth0 inet6 del 2001:49f0:2920::a2/64